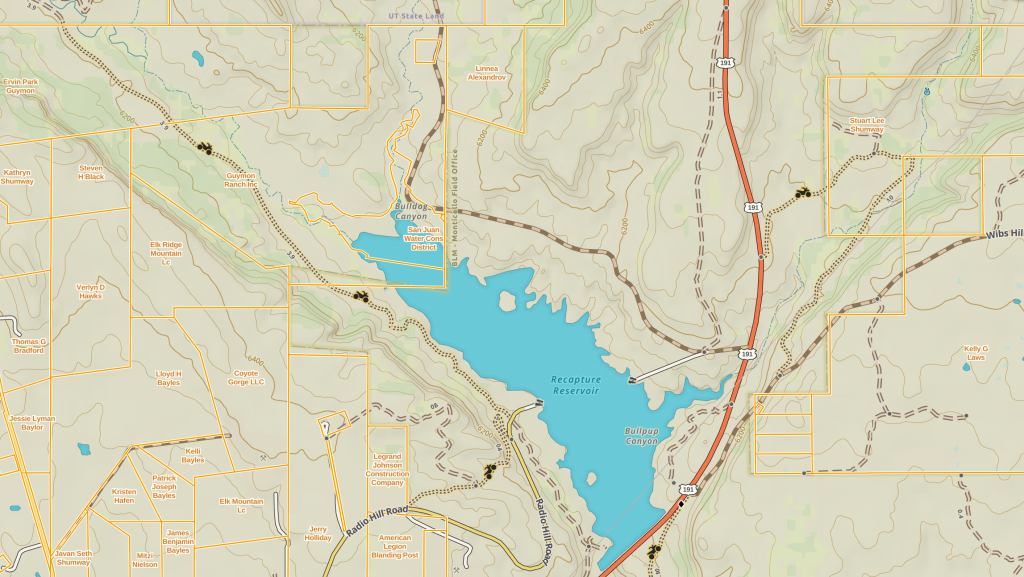
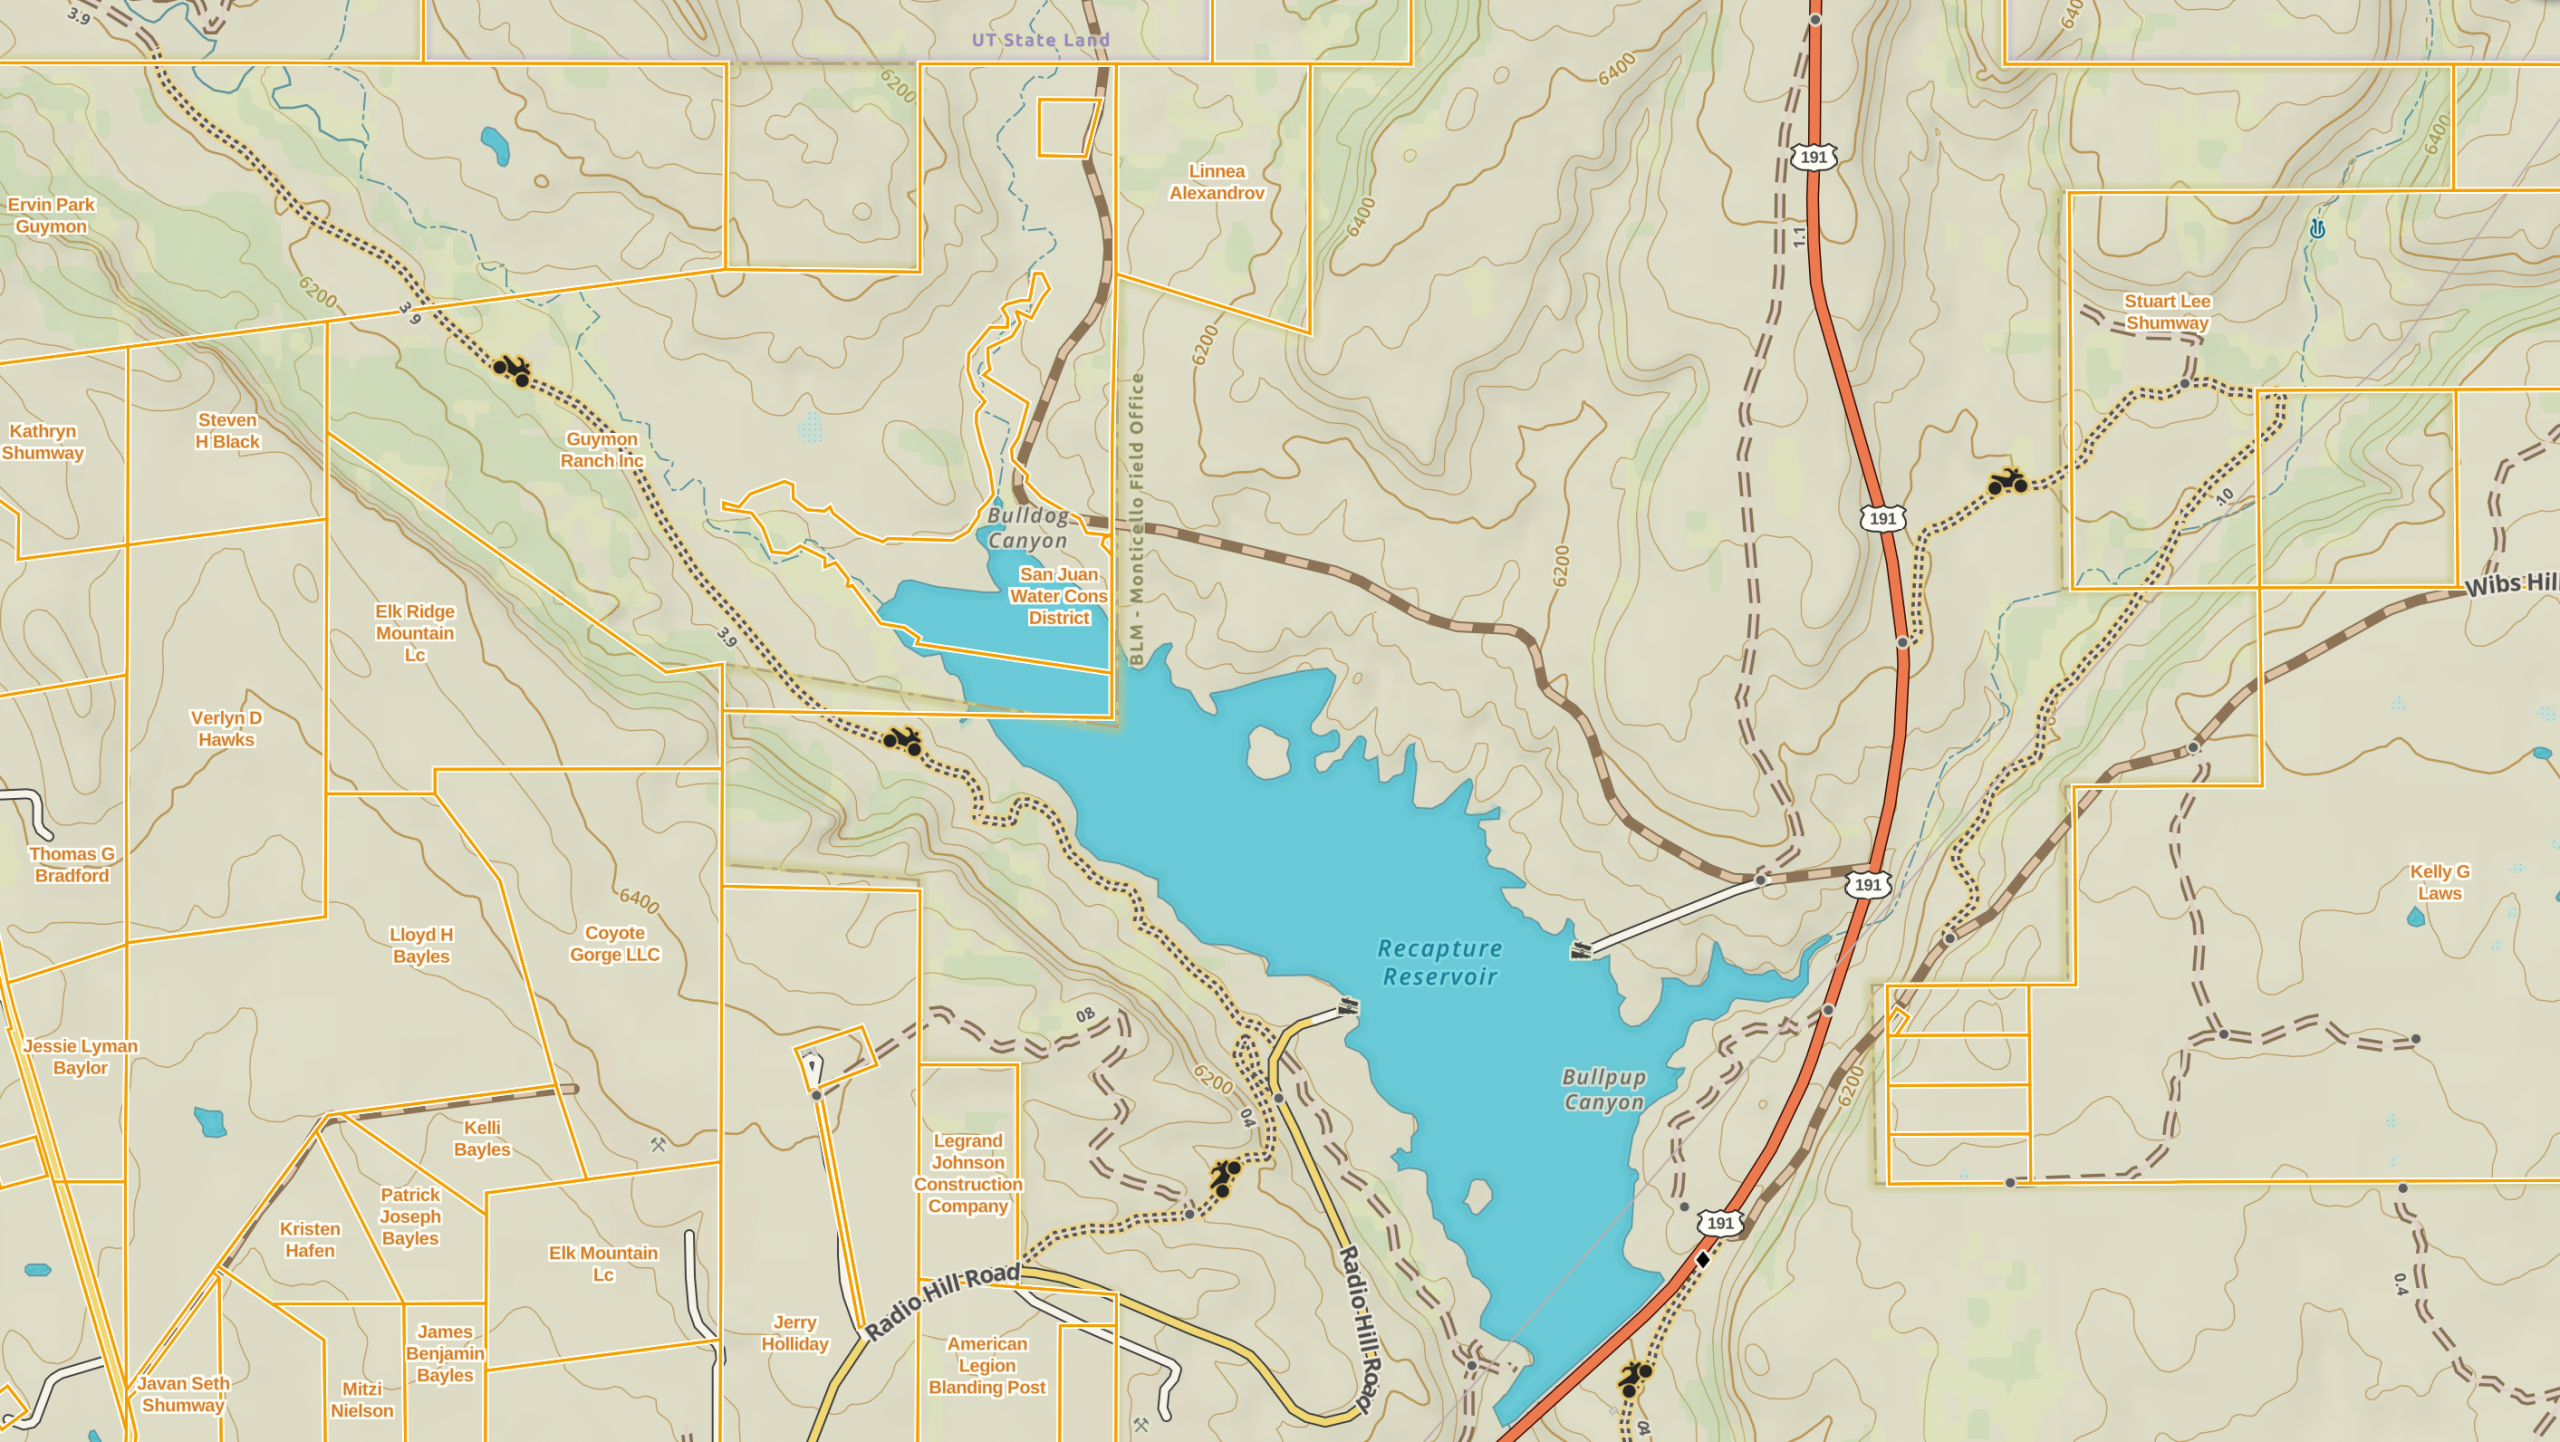
Overlanding is built around self-reliant travel, often taking drivers far beyond reliable cellular coverage and well-maintained highways. Modern GPS units and smartphone navigation make route finding dramatically easier, but experienced travelers should not treat digital navigation as their only source of geographic information. A physical map provides something a screen often cannot: a durable, always-available view of the entire area surrounding your route.
A good map can show the relationship between roads, terrain, elevation, waterways, public-land boundaries, towns, trailheads, and alternative routes at a glance. That broader perspective becomes especially useful when a planned road is closed, a digital route proves unsuitable for your vehicle, or an electronic device becomes unavailable.
For overlanders, the goal is therefore not to choose between paper maps and digital navigation. The stronger approach is to build a redundant navigation system in which physical maps provide planning, geographic context, and an emergency backup while GPS and offline digital maps provide real-time positioning and route guidance.
The sections below explain why physical maps still matter, the major map types overlanders should understand, and how to choose the right map for a particular journey.
Why Physical Maps Still Matter for Overlanding
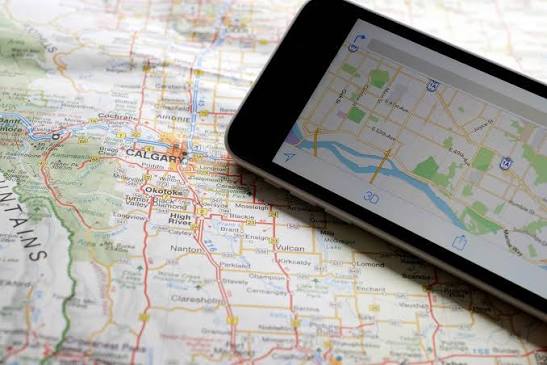
A physical map is a printed representation of geographic information that can be used without electricity, cellular service, an internet connection, or a functioning navigation application. Depending on the map type, it can show roads, trails, elevation, waterways, land boundaries, recreation areas, settlements, and other geographic features.
That independence from electronics is its biggest advantage.
A Reliable Backup When Electronics Fail
GPS receivers, smartphones, tablets, and vehicle navigation systems are powerful, but every electronic navigation system has potential failure points. A device may be damaged during rough travel, run out of battery, overheat, malfunction, lose downloaded data, or become difficult to use in poor weather.
Cellular navigation has another obvious limitation: cell coverage is not guaranteed in remote country.
An offline navigation application can solve much of the cellular problem, but it does not eliminate the need for backup equipment. The phone or GPS still depends on functioning hardware and adequate power.
A paper map does not.
If your primary navigation device becomes unusable, a physical map can still provide enough geographic information to determine your general position, identify major roads, locate nearby towns or access routes, and develop an alternative route.
For remote overlanding, that redundancy is valuable because a navigation failure can become more than an inconvenience when fuel, daylight, weather, or emergency access is limited.
Physical Maps Provide Better Big-Picture Awareness
One of the strongest advantages of a large physical map is the amount of surrounding information you can see simultaneously.
A phone screen may show only a relatively small portion of the route at a useful level of detail. A folded regional map or atlas can show the entire corridor of a journey at once.
That makes it easier to recognize:
- Major highways and secondary roads
- Mountain ranges and passes
- Rivers and lakes
- Towns and services
- Alternative approaches to a destination
- Potential bailout routes
- Adjacent public-land areas
- Multiple road connections
- Large areas of remote terrain
This broader perspective can change how you plan a trip. Instead of simply following the shortest digital route, you can understand the geography surrounding that route and identify alternatives before you actually need them.
Paper Maps Are Useful Before You Leave Home
Physical maps are not only emergency equipment. They are excellent planning tools.
Before departure, an overlander can spread a regional map across a table and examine the entire journey. This makes it easier to divide a trip into geographic sections, identify major access points, estimate distances, and locate potential overnight areas.
You can also annotate the map with a pencil or removable marker.
Useful planning marks can include:
- Primary route
- Secondary route
- Emergency bailout route
- Fuel stops
- Water sources
- Trailheads
- Campsites
- Towns
- Vehicle-service locations
- Difficult terrain
- Important road junctions
- Emergency access points
This creates a physical record of the trip that can be consulted without opening an application.
Physical Maps Help Identify Alternate Routes
Overlanding routes are inherently vulnerable to changing conditions. A road may be closed because of snow, flooding, wildfire activity, maintenance, seasonal restrictions, or land-management decisions. A route may also turn out to be unsuitable for the vehicle because of terrain, clearance, weather, or road conditions.
A physical map can help you see alternative connections between major points.
For example, if a remote forest road becomes impassable, a regional map may reveal another road that connects the area to a highway several miles away. A topo map can then help determine whether that alternative crosses a steep ridge, deep drainage, or other terrain that could create another problem.
The map does not replace current access information, but it helps you understand your available geographic options.
Physical Maps Are Part of Navigation Redundancy
Good overlanding navigation should avoid having a single point of failure.
A practical system might include:
- A primary GPS or navigation application
- Downloaded offline maps
- A physical regional road map or atlas
- A detailed topographic map for remote terrain
- A compass
- Written route notes and important coordinates
- Current land-management information where applicable
This approach means losing one component does not necessarily end the trip.
Physical maps are particularly valuable because they require no charging and can continue functioning when electronics cannot.
Physical Maps vs. Digital Maps
Neither format is universally superior. Each solves different navigation problems.
| Navigation resource | Main strengths | Main limitations |
|---|---|---|
| Physical road map | Regional overview, durable backup, easy route comparison | Limited real-time information |
| Topographic map | Terrain, elevation, drainage and landform analysis | Requires map-reading skills |
| GPS/navigation app | Real-time position, routing, tracking | Dependent on device, power and map data |
| Offline digital map | Works without cellular service | Still dependent on electronics |
| Official land-management map | Access rules and designated routes | Often specialized to a particular jurisdiction |
| Compass | Independent directional reference | Requires map-reading and orientation skills |
The best approach is to combine them rather than depend entirely on one.
A digital map may tell you where you are. A physical map can help you understand where you are in relation to everything around you.
Types of Physical Maps Every Overlander Should Know
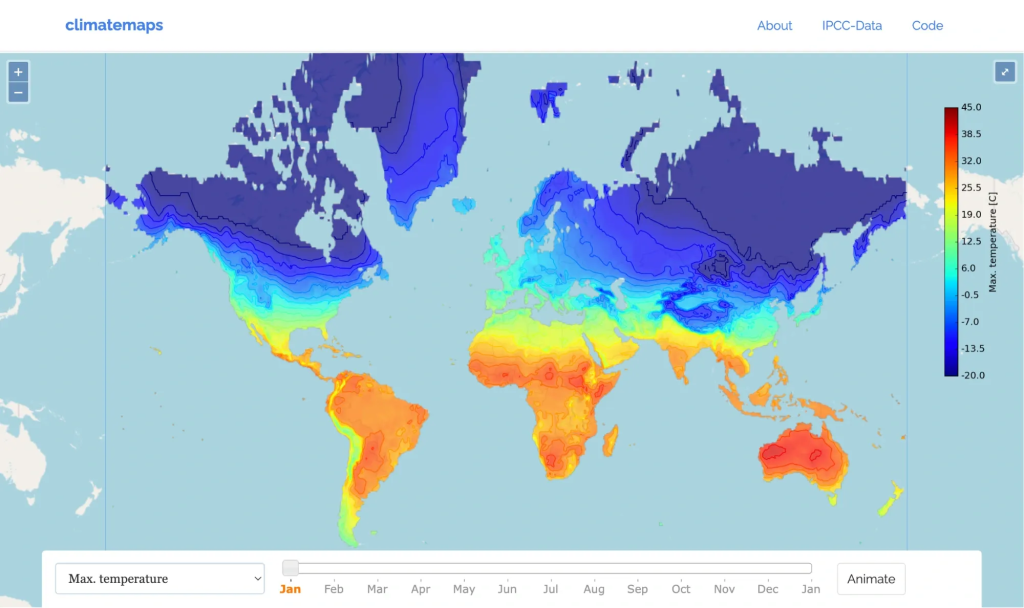
There is no single physical map that covers every overlanding requirement. A highway atlas is excellent for cross-country planning but may provide almost no useful information about a technical mountain trail. A detailed topo map can reveal terrain features that an atlas cannot, but using dozens of topo sheets for a long-distance journey can become impractical.
Understanding the main map categories allows you to build a map collection appropriate to the trip.
Topographic Maps
Topographic, or topo, maps are among the most useful physical maps for remote overlanding.
Their defining feature is the representation of elevation and terrain. Contour lines connect points of equal elevation, allowing a three-dimensional landscape to be represented on a two-dimensional map.
By examining contour lines, an overlander can identify:
- Steep slopes
- Gentle slopes
- Ridges
- Valleys
- Saddles
- Peaks
- Drainages
- Passes
- Mountains
- Water features
The spacing between contour lines is especially important. Lines packed closely together indicate a rapid change in elevation and therefore steeper terrain. Widely spaced lines generally indicate gentler slopes.
This information can be extremely useful when evaluating remote routes. A road that appears relatively straightforward on a basic road map may cross a steep mountain slope or descend into a narrow drainage. A topo map provides additional geographic context that helps you recognize these challenges before reaching them.
Understanding Topographic Map Scale
USGS topo mapping is available at several scales. The traditional 7.5-minute USGS quadrangle is commonly associated with a 1:24,000 scale, while broader USGS topographic coverage also exists at scales such as 1:100,000 and 1:250,000.
Map scale determines the relationship between distance on the map and distance on the ground.
At 1:24,000, one unit on the map represents 24,000 of the same units on the ground. One inch represents 2,000 feet, which allows considerably more terrain detail to be displayed than a smaller-scale map.
A simplified comparison looks like this:
- 1:24,000: High detail, relatively small geographic area
- 1:50,000: Moderate-to-high detail with greater coverage
- 1:100,000: Broader coverage with less fine detail
- 1:250,000 and smaller scales: Useful for large regional planning but less suitable for detailed terrain navigation
A crucial point is that a larger-scale map shows more detail, while a smaller-scale map covers more territory. USGS specifically notes that map detail is proportional to map scale.
For technical terrain, detailed topo maps are usually more useful. For planning a multi-state or long-distance journey, broader maps are generally more practical.
Road and Highway Atlases
Road atlases are designed primarily around transportation networks rather than terrain analysis.
They are particularly useful for long-distance overlanding because they provide a convenient overview of:
- Interstate highways
- State highways
- U.S. highways
- County roads
- Major local roads
- Cities and towns
- Regional connections
- Highway junctions
An atlas can be more useful than a detailed topo map when the objective is to understand the entire journey rather than navigate a specific backcountry trail.
For example, someone driving several thousand miles across multiple states may use an atlas to determine the broad route between major regions. Once the journey enters a particular national forest or public-land area, more detailed maps can take over.
Regional atlases are useful when most of the trip occurs within one state or group of neighboring states. Nationwide atlases are better for cross-country travel when portability matters.
The key is to avoid expecting a road atlas to provide the same terrain detail as a topo map. These are complementary resources rather than competing ones.
Forest Service Maps
For overlanders traveling through U.S. National Forests and Grasslands, Forest Service maps can provide information that generic commercial road maps often lack.
Forest Service mapping products are available at several scales. The Forest Service currently provides detailed mapping products including 1:126,720, 1:100,000, 1:63,360 and traditional 1:24,000-scale Forest Service topographic maps in relevant areas.
Depending on the map, you may find information about:
- National Forest boundaries
- Forest roads
- Recreation sites
- Trails
- Campgrounds
- Ranger districts
- Lakes and streams
- Geographic features
- Road identifiers
- Other forest-specific information
Forest road numbers can be particularly useful because they allow you to identify junctions and compare the physical map with information from the relevant Forest Service district.
However, an important distinction must be made between a map showing a road and a map establishing that the road is legally open to your vehicle.
For motorized travel on National Forest System lands, the Forest Service’s Motor Vehicle Use Map (MVUM) is especially important. MVUMs identify roads, trails, and areas designated for motor-vehicle use and can specify the vehicle types and seasons in which use is permitted.
Forest Service guidance also emphasizes using Forest Visitor Maps and district maps together with the MVUM for navigation.
BLM and Public-Land Maps
Bureau of Land Management maps are particularly valuable when overlanding takes place on BLM-managed public lands.
BLM provides a variety of map products, including downloadable maps, georeferenced PDF maps, interactive mapping resources, and recreation-focused mapping tools.
Depending on the product and area, BLM maps can help identify:
- BLM-managed lands
- Roads and trails
- Recreation areas
- Camping opportunities
- Public-land boundaries
- Adjacent jurisdictions
- Access information
- Special management areas
Land ownership is important because a route that appears geographically continuous may cross multiple jurisdictions.
For example, a road could pass from BLM land onto private property, state land, tribal land, or another federal management unit. The presence of a line representing a road on a general map does not automatically establish that an overlander has a legal right to drive the entire route.
BLM’s mapping resources also include information related to public access easements under the MAPLand Act. Such data can help represent access arrangements, although BLM advises users to consult the relevant restriction information and originating agency for specific features.
For public-land travel, a strong map combination is often:
road map + topo map + land-management map + current access information.
Recreation, Park and Specialty Maps
Special-purpose maps can be valuable when a trip focuses on a particular destination or activity.
Examples include:
- National park maps
- State recreation maps
- Off-road trail maps
- Hunting maps
- Fishing maps
- Waterproof adventure maps
- Trail-system maps
- Recreation-area maps
A national park map may emphasize visitor roads, developed facilities, trailheads, campgrounds, scenic areas, and park regulations. An off-road trail map may instead focus on trail networks, route classifications, obstacles, and access points.
Specialty maps are worth carrying when the information they provide is directly relevant to the trip.
They are not necessarily replacements for general navigation maps. Instead, they add destination-specific information that may be missing from a regional atlas or general-purpose map.
How to Choose the Right Overlanding Physical Map
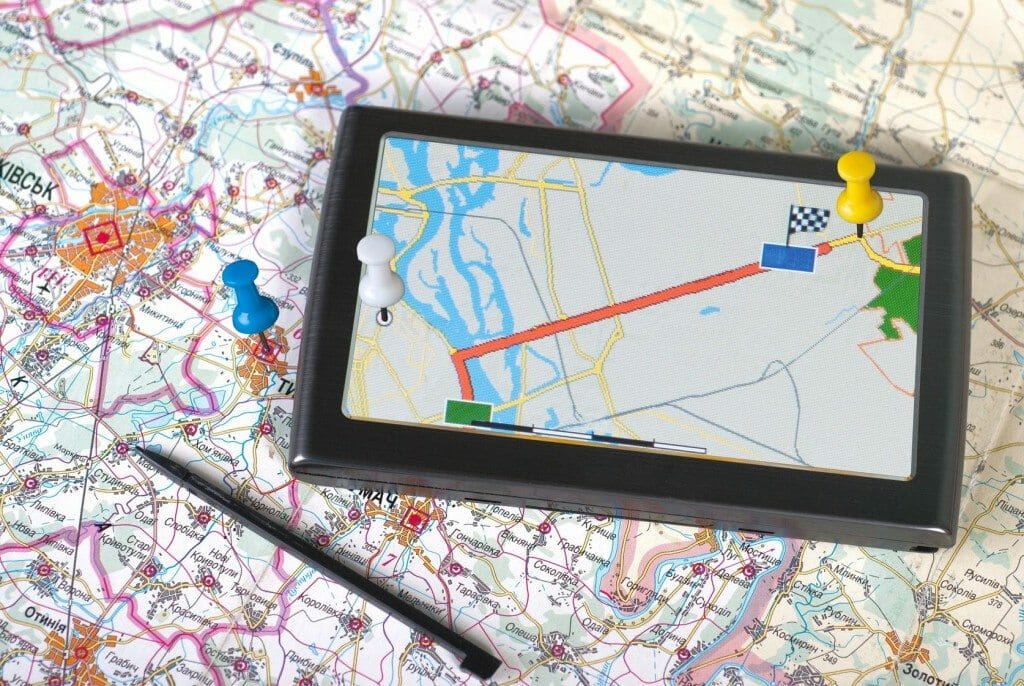
The best physical map is not necessarily the one containing the greatest amount of detail. The correct choice depends on where you are going, what kind of terrain you will encounter, how far you need to travel, and which agency or jurisdiction manages the roads.
Match the Map to the Destination
Start by identifying the nature of the trip.
A long-distance highway journey may primarily require a road atlas. A forest-road expedition may benefit from a Forest Service map and MVUM. A mountainous backcountry trip may require detailed topo sheets. A BLM desert expedition may call for BLM mapping combined with topo information.
In many cases, carrying more than one map type is the most practical solution.
Choose the Appropriate Geographic Coverage
Avoid selecting a map that covers only the exact planned route.
A route can change because of:
- Road closures
- Weather
- Mechanical problems
- Fuel availability
- Seasonal restrictions
- Fire activity
- Flooding
- Trail conditions
- Unexpected vehicle limitations
A map covering the surrounding area gives you more options when the original plan changes.
For long-distance travel, use a regional map or atlas for the overall journey and detailed maps for the areas where you expect to leave major roads.
Select the Right Scale
Scale should reflect the job you expect the map to perform.
A 1:24,000 topo map can provide excellent terrain detail for a relatively small area. USGS notes that these large-scale maps can display considerable detail, while smaller-scale maps generalize or omit some features.
For broader planning, a 1:100,000 map or similar regional product can be more practical because it covers a much larger area.
Do not automatically assume that the most detailed map is the best map. Carrying numerous highly detailed sheets can make route planning difficult when the trip spans a large geographic region.
Check the Publication or Update Date
A map can be beautifully detailed and still be outdated.
Road networks, access restrictions, land-management boundaries, recreation facilities, and seasonal policies can change. This is particularly important for overlanding because access information may change independently of the physical geography.
Use the map as a geographic reference, but verify current access conditions with the relevant land-management agency.
The Forest Service, for example, updates MVUM information and notes that these maps are used to designate legal motorized routes. Some forests explicitly republish MVUMs annually.
Check the Navigation Information Included
Before purchasing a map, examine its legend and coverage.
Useful information may include:
- Road numbers
- Trail numbers
- Contour lines
- Elevation
- Water sources
- Campsites
- Trailheads
- Recreation areas
- Land boundaries
- Road classifications
- Seasonal restrictions
- Public facilities
- Geographic coordinates
For overlanding, road identification is particularly important. A road number can allow you to compare the physical map with an official agency map, GPS data, signs, and written route notes.
Consider Portability and Durability
A map that stays folded inside the vehicle because it is too awkward to use is not particularly useful.
Consider whether you prefer:
- Folded individual maps
- Map books
- Road atlases
- Laminated sheets
- Waterproof maps
- Large-format maps
Repeatedly opening maps inside a vehicle can cause normal paper to wear quickly. Waterproof or tear-resistant products are therefore attractive for extended trips, especially when maps may be handled outdoors in rain, snow, mud, or dust.
A waterproof map case can also protect ordinary paper maps without requiring you to purchase specialized waterproof editions.
Make Sure the Map Is Easy to Read
A map is an emergency tool, so legibility matters.
Look for:
- Clear road symbols
- Readable road numbers
- Distinct contour lines
- A useful legend
- Adequate labeling
- Appropriate scale
- Coordinate information
Maps that are technically detailed but visually crowded can become difficult to interpret quickly.
Understand That Map Detail Does Not Equal Access Legality
This is one of the most important purchasing and planning considerations.
A road may appear on a physical map because it exists geographically or was present when the source data was collected. That does not automatically mean it is currently open to motor vehicles.
For National Forest lands, the Forest Service states that MVUMs identify roads, trails, and areas designated for motorized use, including applicable vehicle types and seasons.
Therefore, a strong overlanding navigation system uses the physical map for geographic understanding while using current official land-management information to verify access.
Buyer tip: A highly detailed map is not automatically the best choice. Choose the map type and scale according to whether you are planning a regional journey, navigating forest roads, or dealing with technical terrain. In many cases, the most useful setup is a broad regional map for context plus one or more detailed maps for the remote sections of the trip.
How to Read an Overlanding Topographic Map
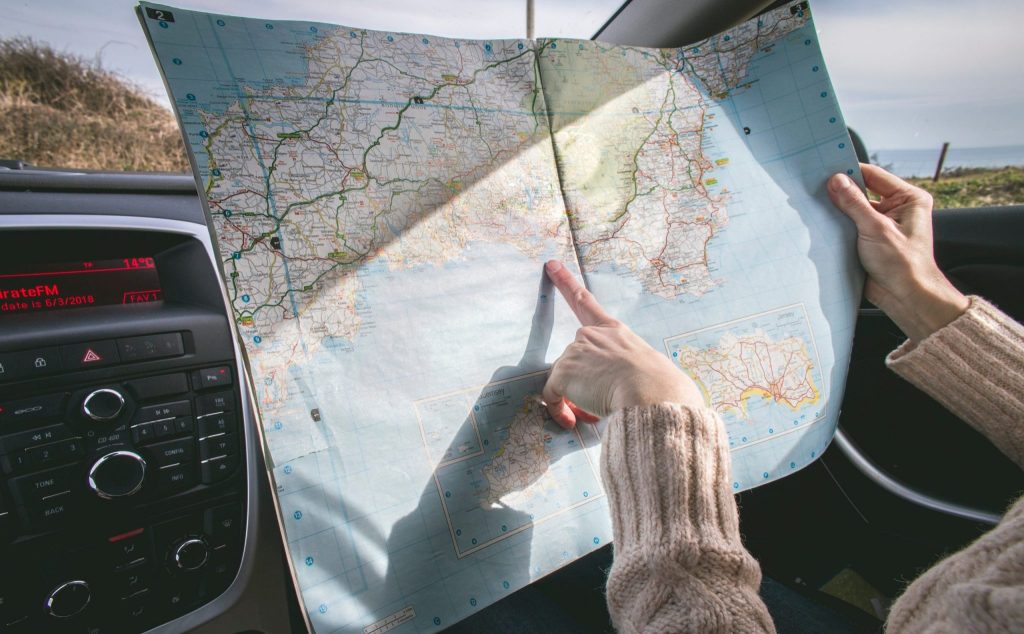
Learning to read a topo map turns a printed sheet from a simple route reference into a practical terrain-analysis tool.
The first step is understanding the legend. The legend explains the symbols, lines, colors, boundaries, roads, trails, water features, elevation information, and other cartographic conventions used on that particular map.
Never assume that every map uses exactly the same symbols. Always check the legend before relying on an unfamiliar map.
Understanding Contour Lines
Contour lines are the foundation of topographic map reading.
A contour line connects points with the same elevation. Because successive contour lines represent different elevations, their pattern reveals the shape of the land.
The first thing to examine is contour spacing.
- Closely spaced contours = steeper terrain
- Widely spaced contours = gentler terrain
- Very tightly packed contours = potentially very steep terrain
- Nearly continuous elevation bands = relatively consistent slopes
The numerical difference in elevation between contour lines is the contour interval. Always check the map legend or marginal information to determine the interval rather than assuming it.
Recognizing Major Landforms
With practice, contour patterns allow you to recognize important terrain features.
Ridges: Contours extend outward from higher terrain and generally indicate a raised line of land.
Spurs: These are smaller projecting ridges that extend from higher ground.
Valleys: Contour patterns often form characteristic V shapes pointing toward higher ground when they cross drainage valleys.
Saddles: A lower area between two higher points or ridges. Mountain routes frequently use saddles or passes to cross between drainage systems.
Peaks: Closed contour lines generally indicate progressively higher terrain toward the center, although the exact interpretation should be checked against elevation labels and map context.
Drainages: Low areas where water naturally collects and flows. These are important for overlanders because they may contain water crossings, muddy sections, washouts, or difficult terrain.
Estimating Route Difficulty
A topo map cannot tell you everything about trail conditions, but it can reveal geographic factors that may affect vehicle travel.
When examining a route, look for:
- Rapid elevation changes
- Closely spaced contours
- Mountain passes
- Deep drainages
- Narrow valleys
- Major stream crossings
- Long climbs or descents
- Terrain barriers
- Limited alternate roads
For example, a route that climbs 2,000 feet over a short horizontal distance deserves more attention than one making the same elevation change gradually.
However, do not interpret contour lines as a complete assessment of trail difficulty. Surface type, rocks, mud, snow, vegetation, washouts, road width, vehicle clearance, weather, and current maintenance conditions may be more important than elevation alone.
Reading Roads and Trails
Road and trail symbols vary by map, so the legend is essential.
Look for distinctions between:
- Major highways
- Secondary roads
- Local roads
- Forest roads
- Trails
- Seasonal roads
- Unmaintained routes
- Other transportation features
Road numbers are particularly valuable during route planning. Write down important junctions and road numbers so that you can match the paper map with road signs and digital navigation.
Using Latitude and Longitude
Latitude and longitude provide a universal geographic reference system.
Recording important coordinates on paper can be useful for:
- Campsites
- Trailheads
- Fuel stations
- Emergency access points
- Meeting locations
- Route junctions
- Vehicle recovery locations
If an electronic device fails, written coordinates can still provide useful location information to someone with another functioning navigation system.
Understanding Grid References
Some maps use coordinate grids in addition to or instead of traditional latitude and longitude. Depending on the map, you may encounter systems such as UTM.
The important principle is to know which coordinate system your map uses and ensure that your GPS, compass, or other navigation resource is configured consistently when transferring coordinates.
Using a Compass With a Paper Map
A compass makes a physical map considerably more useful.
A basic baseplate compass can help you:
- Determine direction
- Orient the map
- Follow a bearing
- Compare terrain direction with map information
- Navigate when electronic positioning is unavailable
First orient the map so that its geographic features correspond to the landscape around you. Then use the compass and map together to determine direction and bearings.
One important concept is the distinction between true north and magnetic north.
True north points toward the geographic North Pole, while magnetic north is based on Earth’s magnetic field. The angular difference between them is known as magnetic declination, and the value varies by location and changes over time.
For accurate compass navigation, check the declination information provided with your map or another current authoritative source and understand whether your compass or navigation procedure requires a correction.
Estimating Distance
Map scale allows you to estimate ground distance.
A ruler, map scale bar, or dedicated map measurer can be used to compare a route’s map length with the corresponding real-world distance.
Remember that straight-line distance is not the same as travel distance. A winding forest road may cover substantially more ground than a direct measurement between its endpoints.
Also avoid translating map distance directly into travel time without considering terrain. A short, steep, rocky route may take much longer than a longer graded road.
Determining Whether an Alternate Plan Is Needed
Topo maps are especially valuable when you compare multiple routes.
Suppose the primary route crosses a high pass with closely spaced contours and there is a lower route following a broad valley. The topo map immediately provides information that can help you evaluate the alternatives.
You can ask:
- Which route gains less elevation?
- Which route crosses fewer major drainages?
- Where are the steepest sections?
- Are there nearby roads if the route becomes impassable?
- Does the route enter an area with limited exit options?
- Where are the nearest towns or major roads?
The map cannot guarantee that a route will be driveable. Instead, it helps you identify where further investigation is necessary.
For overlanding, that distinction matters. Physical maps are best used as part of a larger navigation system that also includes current road conditions, official access information, weather information, vehicle capabilities, and digital positioning.
The strongest approach is therefore simple: use the physical map to understand the landscape, use digital tools to determine your current position, and use current official information to verify whether the route is actually available and legal.
How to Use Physical Maps for Overlanding Route Planning
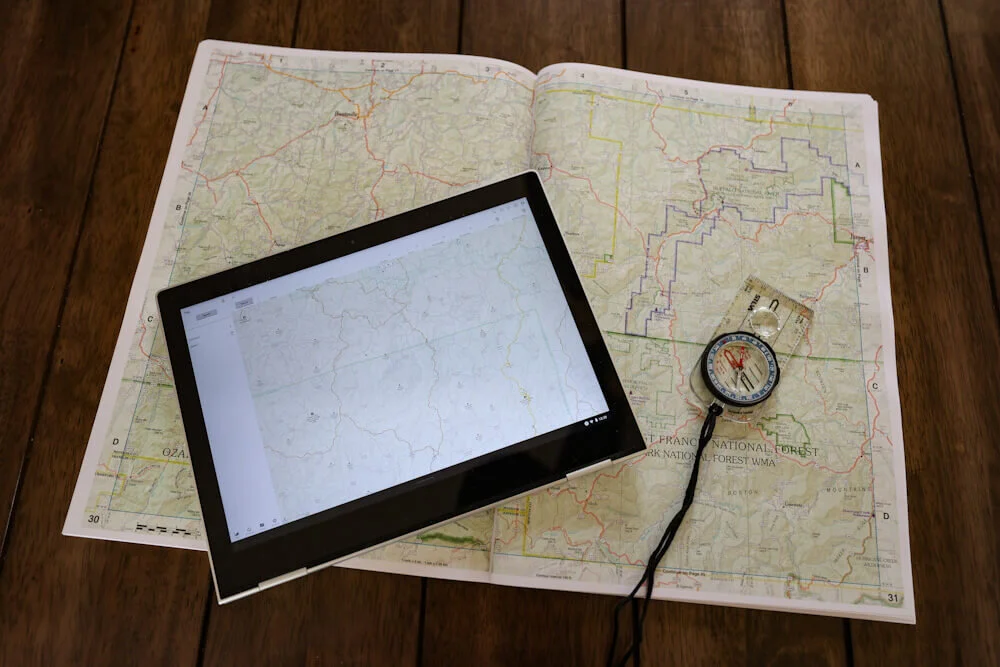
A physical map becomes most useful when you treat it as a route-planning and decision-making tool, rather than simply something to keep in the vehicle for emergencies. Before an overlanding trip, use the map to understand the entire region, identify multiple ways into and out of the area, mark critical resources, and anticipate terrain or access problems.
The objective is not to predict every detail of the journey. Instead, you want to build a route that remains understandable and adaptable if conditions change or your electronic navigation becomes unavailable.
Start With the Overall Region
Begin with a regional road map or atlas rather than immediately focusing on the trail itself.
Locate:
- Your starting point
- The destination
- Major highways
- Secondary highways
- Towns and communities
- Mountain ranges
- Major rivers and lakes
- National forests
- BLM-managed lands
- National parks
- State lands
- Major public access points
This gives you geographic context and helps reveal how the backcountry area connects to the larger road network.
For example, an isolated trail may appear to have only one access road when viewed at a highly detailed scale. A regional map may reveal another highway, forest road, or community on the opposite side of the area that provides an alternative exit.
Narrow the Trip Down to the Target Area
Once the overall corridor is understood, switch to a more detailed map.
Depending on the destination, this might be:
- A USGS-style topographic map
- A Forest Service visitor map
- A BLM map
- A national park map
- A state recreation map
- A detailed off-road map
The purpose is to transition from regional navigation to terrain and access analysis.
Examine the roads leading toward your intended trail or backcountry area. Look for junctions, passes, bridges, stream crossings, steep terrain, dead-end roads, and connections to other routes.
Build a Primary, Secondary and Emergency Route
Avoid planning only one route.
A simple system is:
Primary route: The route you expect to drive under normal conditions.
Secondary route: A realistic alternative if the primary route is closed, unsuitable, or too difficult.
Bailout route: A route that gets you back toward a major road, town, fuel source, or other safer location if the trip has to be shortened.
The bailout route does not have to be another recreational trail. In many situations, the safest alternative is simply reaching a maintained public road or populated area.
Mark these routes directly on your physical map.
Mark Fuel Stops and Vehicle Services
Fuel planning is particularly important when traveling through remote areas.
Mark:
- Fuel stations
- Towns
- Vehicle repair shops
- Tire services
- Parts suppliers
- Major highways
- Potential overnight locations
Do not assume that every town shown on an old map still has an operating fuel station or vehicle service.
For remote trips, verify critical services before departure and consider the maximum distance your vehicle can travel on its available fuel.
A map helps visualize the spacing between services, while current information confirms whether those services are actually available.
Identify Water Sources
Water features are easy to identify on many topo maps, but mapped water does not necessarily mean safe, accessible, or currently flowing water.
Streams, rivers, lakes, reservoirs, and springs can be marked on maps, but seasonal conditions can change dramatically.
Use mapped water features as planning references, then verify current availability where water is important to the trip.
This is especially important in arid regions, where a mapped seasonal water source may be dry when you arrive.
Mark Campsites and Trailheads
Mark known campsites, campgrounds, trailheads, and other stopping points.
For dispersed camping, however, do not assume that a convenient-looking piece of public land automatically permits camping. Land ownership and local regulations matter.
BLM provides map and geospatial products specifically to help visitors explore public lands, including downloadable and georeferenced maps and recreation mapping resources.
For National Forest areas, use the appropriate Forest Service visitor map together with current motor-vehicle information.
Identify Emergency Access Points
Before entering a remote area, identify several ways to leave it.
Mark:
- Main paved-road connections
- Ranger stations where applicable
- Nearby communities
- Hospitals or medical facilities
- Emergency access roads
- Major highways
- Reliable communication points
- Vehicle-service locations
You do not need to turn your map into an enormous collection of symbols. Concentrate on information that would actually matter if the trip went wrong.
Examine Terrain Before Driving
A topo map can reveal terrain that a basic road map does not.
Look for:
- Closely spaced contour lines
- Long climbs
- Mountain passes
- Deep drainages
- River crossings
- Narrow valleys
- High-elevation routes
- Large elevation changes
Then compare those features with your vehicle’s capabilities.
A route suitable for a stock SUV in dry weather may be inappropriate for the same vehicle after heavy rain or snow.
Look for Alternate Routes Around Difficult Sections
If your primary route crosses a steep pass, major watercourse, or isolated section of road, look for another connection before leaving home.
Ask:
- Is there another road around this obstacle?
- Where is the next exit?
- How far is the nearest paved road?
- Can I return the way I came?
- Is there a second route to the destination?
- Does the alternative cross even more difficult terrain?
This process is much easier when several miles of surrounding geography are visible on a physical map.
Check Crossings, Passes and Elevation Changes
Water crossings and mountain passes deserve special attention.
A map can show where a road crosses a river or climbs through a pass, but it cannot tell you the current depth, road condition, snowpack, or whether a crossing is currently safe.
Treat the map as the geographic starting point, then verify current conditions using appropriate official sources, local land managers, weather information, and recent field information.
Plan Fuel Range and Emergency Escape Routes
Fuel planning should consider more than the distance from Point A to Point B.
Allow for:
- Detours
- Wrong turns
- Idling
- Low-speed off-road travel
- Elevation changes
- Weather-related delays
- Road closures
- Unexpected overnight stays
Your physical map can help you identify the next reliable fuel opportunity and several potential exit points.
Record Important Junctions and Road Numbers
Write down the major junctions on your route.
A simple route note might contain:
Highway 12 → Forest Road 23 → Junction 7 → Forest Road 230 → Trailhead
This information is useful even when digital navigation is working because it gives you an independent reference against which to compare the GPS route.
Compare the Map With Current Land-Management Information
This step is essential.
A physical map shows geographic information, but access rules can change.
For U.S. National Forest lands, the Forest Service’s Motor Vehicle Use Map (MVUM) identifies designated roads, trails, and areas for motorized travel and specifies applicable vehicle types and seasons. The Forest Service describes the MVUM as the reference for determining where motor vehicles may legally travel.
The Forest Service’s national geospatial data is also refreshed as individual units update and approve their MVUM information; the current national dataset shows road data refreshed in July 2026 and trail data refreshed in August 2026.
This illustrates an important principle: your physical map and your current access information serve different purposes.
Keep a Separate Backup Route
Do not wait until you encounter a closure to start looking for another route.
Before departure, identify at least one practical alternative for critical sections.
If the primary route becomes unavailable, you should already know:
- Where to turn around
- Which alternate road to take
- Where the alternate route reconnects
- Where the next fuel opportunity is
- Which route returns you toward civilization
That preparation can save considerable time and reduce stress when you’re already dealing with poor weather or a navigation failure.
Why Route Legality Matters
A line on a map represents geography—not necessarily legal permission to drive.
This distinction is especially important in the United States, where roads and trails can cross different land-management jurisdictions and where motor-vehicle access can be restricted by vehicle type, season, environmental protections, temporary closures, or travel-management decisions.
A Mapped Road Is Not Automatically an Open Road
A road can appear on:
- A commercial road atlas
- A topo map
- A GPS application
- A satellite image
- An older Forest Service map
- A user-generated trail database
and still not be legally open to your vehicle today.
The Forest Service specifically explains that MVUMs identify the roads, trails, and areas designated for motor-vehicle use, including the type of vehicle allowed and the season of use.
This is why experienced overlanders verify access rather than assuming that a route is legal simply because a navigation app draws a line across it.
Understand Seasonal Closures
Some roads are legally available only during certain periods.
Restrictions can exist to:
- Protect wet or fragile roads
- Reduce wildlife disturbance
- Prevent resource damage
- Manage snow conditions
- Protect public safety
- Control seasonal recreation
- Address fire conditions
The Forest Service’s MVUM system specifically includes seasonal-use information. Its current data also distinguishes legal availability from physical conditions; a route can be legally open while snow, mud, flooding, or other conditions make travel inappropriate.
That distinction is important:
Legal to drive does not automatically mean safe or physically passable.
Use Motor Vehicle Use Maps Where Applicable
For National Forest System lands, an MVUM should be one of the most important access references in your navigation kit.
The Forest Service describes MVUMs as showing which routes are open to motor vehicles, what types of vehicles are permitted, and what seasons those routes are open. Some forests publish updated MVUMs annually.
The Forest Service also provides MVUM information through digital map services, but when planning a physical navigation system, obtaining the relevant hard-copy MVUM is useful because it maintains the paper-based redundancy of your overall setup.
Understand Vehicle Designations
Not every motorized route has identical permissions.
An MVUM can distinguish between routes open to highway-legal vehicles and routes with broader motor-vehicle designations.
Your vehicle matters.
For example, an overlander driving a street-legal 4×4 should not automatically assume that a route designated for a particular type of off-highway vehicle is appropriate or legal for that vehicle.
Always read the MVUM legend, road table, vehicle designation, and seasonal information for the specific route.
Verify Current Restrictions Before Departure
Access information can change after you purchase a paper map.
Before leaving, check the relevant agency for:
- Temporary closures
- Wildfire restrictions
- Emergency closures
- Seasonal openings
- Road construction
- Flood damage
- Weather-related restrictions
- Special-use restrictions
For BLM-managed lands, the official BLM maps portal provides current mapping resources and downloadable products, including georeferenced PDF maps and recreation mapping tools.
For Forest Service land, start with the specific national forest or ranger district and its current MVUM and closure information.
Essential Physical Navigation Tools to Carry With Your Maps
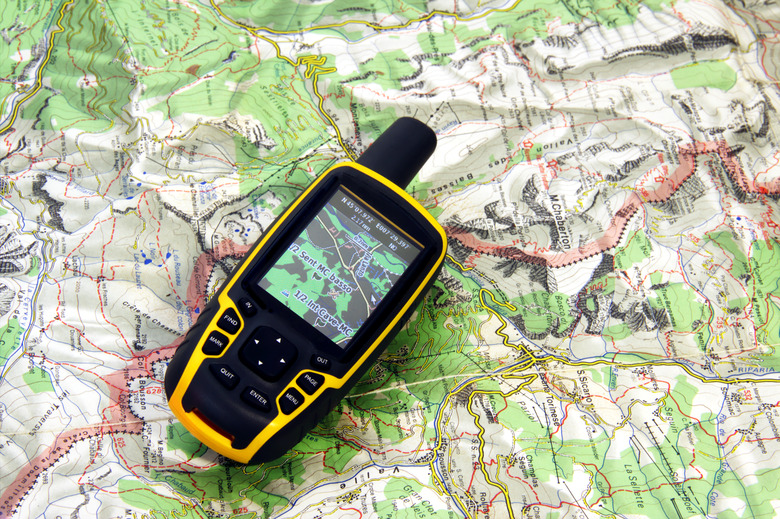
A paper map is much more useful when paired with a few simple navigation tools.
You do not need a large collection of specialized equipment. A compact navigation kit can provide most of the capability required for basic map-and-compass navigation.
Baseplate Compass
A baseplate compass is one of the most important companions to a physical map.
Look for a model with:
- A clear baseplate
- Direction-of-travel arrow
- Rotating azimuth bezel
- Degree markings
- Orienting lines
- A readable magnetic needle
A compass lets you orient the map, establish bearings, and maintain a general direction even when GPS positioning is unavailable.
For serious backcountry travel, learn how to use the compass before the trip rather than treating it as an emergency object that you have never practiced with.
Map Ruler
A map ruler helps estimate distance and can make route planning considerably easier.
Some map rulers include multiple scales, allowing them to work with different map scales.
A ruler is useful for:
- Measuring route length
- Comparing alternate routes
- Estimating distances between junctions
- Planning daily travel
- Checking approximate distances to fuel or exit points
Remember that measured map distance is an estimate. Winding roads and terrain can make actual travel distance longer.
Map Protractor
A map protractor can help you determine bearings and plot directions.
This becomes particularly useful when combining a map with a compass.
For casual road-based overlanding, a dedicated protractor may not be essential. For remote terrain where navigation skills matter, however, it can be a useful addition.
Waterproof Map Case
A waterproof map case protects paper maps from:
- Rain
- Snow
- Mud
- Dust
- Condensation
- Wet hands
- Drink spills
A clear case also allows you to read and mark the map without exposing the paper directly to the elements.
Choose a case large enough to hold the map without forcing excessive folds.
Waterproof Notebook
A small waterproof notebook provides a backup for information that would otherwise exist only inside your phone.
Record:
- Coordinates
- Road numbers
- Junctions
- Fuel locations
- Emergency contacts
- Camp locations
- Important access notes
- Planned route segments
This is especially useful when several people are traveling together and route information needs to be communicated between vehicles.
Map-Marking Tools
Carry at least one reliable marking tool.
Useful options include:
- Mechanical pencil
- Permanent pencil
- Fine-point waterproof pen
- Highlighter
A pencil is often preferable for reusable maps because it allows temporary route markings without permanently damaging the map.
For laminated maps, erasable or compatible wet/dry marking tools can be particularly useful.
Route Cards and Written Turn-by-Turn Notes
A route card is a simple written summary of the important parts of a journey.
It can include:
| Route point | Information to record |
|---|---|
| Start | Departure location |
| Junction 1 | Road number and direction |
| Fuel stop | Location and approximate distance |
| Trailhead | Coordinates |
| Camp | Planned overnight location |
| Bailout | Emergency exit route |
| Destination | Final coordinates/location |
Route cards are especially helpful for group travel. A driver does not have to repeatedly zoom in and out of a phone to determine the next important junction.
Laminated Maps or Waterproof Sheets
If you expect frequent outdoor use, laminated maps can provide excellent durability.
However, lamination can make folding and storage less convenient, so consider how you actually intend to use the map.
A waterproof map case is often more flexible because it allows you to protect different maps without purchasing waterproof versions of every sheet.
Backup Copies of Important Maps
For critical trips, consider carrying duplicate copies of the most important maps.
One copy can remain in the vehicle while another can be stored with your emergency/navigation equipment.
For group expeditions, distributing map copies between vehicles can also provide redundancy if one vehicle becomes separated from the group.
Vehicle-Mounted Map Board or Clipboard
A clipboard or map board can make route planning easier inside the vehicle.
It provides a firm writing surface for:
- Marking routes
- Reading route cards
- Recording mileage
- Comparing road numbers
- Taking notes
Avoid placing maps where they obstruct the driver’s view or interfere with vehicle controls. Navigation materials should always be accessible without creating a driving hazard.
Protective Map Storage
Keep maps somewhere they are:
- Dry
- Clean
- Accessible
- Protected from excessive heat
- Protected from unnecessary folding
- Easy to retrieve during an emergency
A dedicated map compartment, protective document sleeve, or dry bag can work well.
The goal is to prevent your backup navigation system from becoming unusable because the map was crushed, soaked, or buried beneath recovery equipment.
How to Build a Simple Paper Navigation Kit
You do not need an elaborate expedition-grade system to create useful navigation redundancy.
A basic paper navigation kit can contain:
1. Primary Regional or Road Map
Use this for the broad journey.
It should show major highways, secondary roads, towns, and the surrounding region.
2. Detailed Topographic Map
Carry detailed topo coverage for remote or technically challenging sections.
Use it to analyze elevation, terrain, drainages, passes, and alternate routes.
3. Local Land-Management Map
Add the appropriate official map for the jurisdiction you are visiting.
For U.S. National Forest travel, this may include a Forest Service visitor map plus the applicable MVUM. For BLM travel, use relevant BLM mapping resources and current access information.
4. Compass
Carry a reliable baseplate compass and know how to use it.
5. Protective Case
Keep your primary maps protected from water and dirt.
6. Marking Tools
Carry a pencil, highlighter, and compatible map marker.
7. Written Emergency Information
Keep important route information written on paper, including key coordinates, major junctions, fuel locations, planned camps, and emergency exit routes.
A compact kit like this provides a surprisingly strong backup when combined with offline digital navigation.
Best Practices for Using Physical and Digital Maps Together
Modern navigation technology is extremely useful for overlanding, but the strongest system combines digital convenience with physical-map redundancy.
Think of the two formats as serving different roles.
Use Digital Navigation for Real-Time Positioning
GPS-enabled devices are excellent for determining where you are right now.
Digital navigation can provide:
- Real-time location
- Route tracking
- Turn-by-turn directions
- Waypoints
- Track recording
- Offline positioning
- Searchable points of interest
- Distance and estimated arrival information
These capabilities are difficult to replicate with a paper map.
Use Physical Maps for Geographic Context
Physical maps excel at showing the larger picture.
Use them for:
- Pre-trip planning
- Terrain analysis
- Route alternatives
- Backup navigation
- Understanding surrounding roads
- Identifying geographic barriers
- Comparing multiple routes
A useful workflow is to plan the trip on the physical map first, then transfer the important route information to your digital navigation system.
Download Maps Before Entering Remote Areas
Never assume that cellular service will be available.
Before entering remote country:
- Download the required digital map areas.
- Confirm that offline navigation works.
- Save critical waypoints.
- Record important coordinates on paper.
- Carry the corresponding physical maps.
This creates multiple layers of redundancy.
Cross-Check Digital Routes Against Physical Maps
Do not blindly follow a digital route.
Compare the suggested route with the physical map and ask:
- Does the road actually connect where the app indicates?
- Does the route cross difficult terrain?
- Does it enter a different land-management jurisdiction?
- Is there a known alternate?
- Does the route appear to be seasonal?
- Is there an easier road nearby?
This is particularly important when navigation software chooses a route based primarily on connectivity rather than vehicle suitability.
Never Assume a Digital Route Is Legal
Navigation software can display roads that are not currently open to your vehicle.
For National Forest lands, compare digital routes with the current MVUM. The Forest Service’s mapping data explicitly distinguishes designated motorized routes and includes vehicle and seasonal-use information.
This should become a standard habit:
Digital route → physical map → official access information.
If those three sources disagree, investigate before driving the route.
Record Important Coordinates on Paper
Write down the coordinates of critical points before leaving:
- Destination
- Trailhead
- Campsite
- Fuel station
- Emergency exit
- Meeting point
- Major junction
This is especially useful if the phone is lost, damaged, or out of power.
Compare Actual Conditions With Mapped Information
A map represents geographic information, not necessarily today’s road condition.
When traveling, pay attention to:
- Road signs
- Closure gates
- Posted restrictions
- Trail conditions
- Washouts
- Flooding
- Snow
- Fire restrictions
- Current agency notices
If field conditions contradict your map, stop and investigate rather than assuming the map is correct.
Use Official Land-Management Information
For public-land overlanding, official agency information should take priority when determining access legality.
The Forest Service’s current MVUM data identifies designated motorized routes, vehicle types, and seasons, and the agency continues to refresh the underlying datasets as individual units update their information.
BLM likewise maintains an official maps portal containing current map products and geospatial resources for its managed lands.
Digital mapping systems can also combine terrain basemaps with overlays such as public-land boundaries, Forest Service motorized routes, and other geographic information. These tools are valuable companions to physical maps—but they should complement, rather than eliminate, your paper navigation backup.
Build a Three-Layer Navigation System
For many overlanders, a practical system looks like this:
Layer 1 — Digital navigation:
GPS position, offline maps, route tracking and waypoints.
Layer 2 — Physical maps:
Regional map, topo map, and relevant land-management maps.
Layer 3 — Official access information:
Current closures, seasonal restrictions, MVUMs, land-management notices and other authoritative information.
This approach is considerably more resilient than relying on a single application or map.
The goal is not to reject modern technology. It is to make sure that a failure in one navigation layer does not leave you without a workable plan.
Frequently Asked Questions About Overlanding Physical Maps
What Is the Best Physical Map for Overlanding?
There is no single best physical map for every overlanding trip. The right choice depends on your destination, terrain, trip length, map scale, and the land-management agencies responsible for the area.
For long-distance travel, a regional road atlas is usually the most practical starting point because it provides broad geographic coverage. For mountainous or remote terrain, add a detailed topographic map. If you’re traveling on U.S. National Forest land, a Forest Service map and the applicable Motor Vehicle Use Map (MVUM) can provide important route and access information.
For BLM-managed public lands, use the relevant BLM maps and current local information. BLM currently provides downloadable maps, georeferenced PDFs, interactive mapping resources, and other public-land mapping products.
A good rule is:
Regional trip = road map or atlas
Mountain/backcountry trip = topo map
National Forest trip = Forest Service map + MVUM
BLM trip = BLM map + topo/road map
Technical terrain = detailed topo + appropriate land-management information
Are Paper Maps Still Useful for Overlanding?
Yes. Paper maps remain useful because they provide navigation redundancy and geographic context without requiring batteries, cellular service, or an operating electronic device.
A physical map is particularly valuable when:
- Your phone is damaged
- A GPS battery dies
- Cellular service disappears
- Digital map data is incomplete
- You need to see a large region at once
- You need to identify alternative routes
- You need to plan before departure
Paper maps should not necessarily replace GPS. Instead, they should be another layer in your navigation system.
A strong setup combines GPS positioning, downloaded offline maps, physical maps, a compass, and current access information.
What Scale Map Is Best for Off-Road Navigation?
There is no universal best scale.
For detailed terrain navigation, 1:24,000-scale USGS topographic maps can be extremely useful. USGS explains that 1:24,000 maps show considerably more detail than smaller-scale maps, while 1:100,000 and 1:250,000 maps cover substantially larger areas with less detail.
A simplified comparison:
| Map scale | Best use |
|---|---|
| 1:24,000 | Detailed terrain and local route analysis |
| 1:50,000 | Detailed regional/backcountry planning |
| 1:100,000 | Larger-area route planning |
| 1:250,000+ | Regional and long-distance planning |
Remember that a larger map scale means more detail, not greater geographic coverage.
For an extended overlanding journey, you may want both a broad regional map and detailed maps for the remote portions of the route.
Do I Need a Topographic Map for Overlanding?
Not every overlanding trip requires a detailed topo map.
If you’re primarily traveling paved highways, maintained gravel roads, and well-established routes, a road atlas may provide most of the information you need.
A topo map becomes much more valuable when traveling through:
- Mountainous terrain
- Remote forests
- Desert backcountry
- High-elevation areas
- Technical trails
- Areas with significant elevation changes
- Regions with limited alternate routes
Topographic maps show elevation contours and terrain shape, allowing you to identify steep slopes, valleys, ridges, drainages, and other landforms. USGS identifies contour lines as the defining characteristic of topographic maps.
However, a topo map should not be treated as a complete trail-condition report. It cannot reliably tell you whether a road is currently muddy, washed out, snow-covered, blocked, or legally open.
What Maps Should I Carry for an Overlanding Trip?
A practical navigation package should be based on the trip rather than simply carrying every map available.
For many trips, carry:
- Regional road map or atlas — for the overall journey.
- Detailed topo map — for remote or mountainous sections.
- Land-management map — such as Forest Service or BLM mapping where applicable.
- Current access information — including MVUMs and closure notices where relevant.
- Compass — for basic independent navigation.
- Written route information — important coordinates, junctions, fuel stops, and emergency exits.
For National Forest travel, the MVUM deserves special attention. The Forest Service states that the MVUM identifies designated National Forest System routes and areas open to motorized travel, including vehicle classes and seasonal allowances.
Are Physical Maps Better Than GPS for Overlanding?
Neither is universally better.
GPS is superior for determining your current position, tracking a route, saving waypoints, and providing convenient navigation.
Physical maps are superior for understanding the larger geographic picture, analyzing terrain, comparing alternate routes, and providing a backup when electronics fail.
The most reliable approach is therefore redundancy:
GPS + offline digital maps + physical maps + compass + current official access information.
Using multiple navigation methods also makes it easier to detect mistakes. If a GPS route directs you down an unexpected road, you can compare the route against the physical map and investigate whether the route is suitable and legally accessible.
How Do I Keep Paper Maps Dry While Overlanding?
The simplest solution is a waterproof map case.
A good case should:
- Protect against rain and splashes
- Remain readable while the map is inside
- Be large enough for your map
- Allow reasonable folding
- Prevent dirt and mud from reaching the paper
Other options include:
- Laminated maps
- Waterproof map sheets
- Dry bags
- Protective document sleeves
- Dedicated vehicle map storage
Do not keep your only map loose on the vehicle floor. Dust, moisture, spilled drinks, and repeated folding can quickly make an important map difficult to use.
For critical routes, consider carrying a backup copy.
How Do I Know if a Road on My Map Is Legally Open?
Do not rely solely on the road’s appearance on a physical or digital map.
Instead, identify the agency managing the land and check its current access information.
For National Forest System lands, consult the applicable Motor Vehicle Use Map (MVUM). The Forest Service states that routes not shown on an MVUM are not open to public motor-vehicle travel and that MVUMs identify designated routes, vehicle classes, and seasonal allowances.
For BLM-managed land, consult the relevant BLM field office and current maps/access information. BLM’s mapping resources include public-land maps, georeferenced PDFs, and public-land access data.
Also check for temporary closures caused by:
- Wildfires
- Flooding
- Storm damage
- Road construction
- Emergency restrictions
- Seasonal conditions
- Special management decisions
The key principle is simple:
A mapped road is evidence that a route exists or existed—not proof that you can legally drive it today.
Build a Navigation System, Not Just a Map Collection
Physical maps remain an important part of a reliable overlanding navigation system, even as GPS devices and offline mapping applications become increasingly capable.
The best approach is not to choose paper maps instead of digital navigation. Instead, use each tool for what it does best.
Use regional road maps and atlases to understand the overall journey. Use topographic maps to analyze terrain, elevation, drainages, ridges, valleys, and difficult sections. Use Forest Service, BLM, park, and other land-management maps when your route crosses managed public lands.
Most importantly, verify access information separately from geographic information.
A physical map may show a road, but current land-management information determines whether that road is designated or restricted for motor-vehicle use. For National Forest lands, the Forest Service’s MVUM is specifically designed to identify designated motorized routes, applicable vehicle classes, and seasonal allowances. For BLM lands, official mapping resources and access datasets provide additional information for planning legal public-land travel.
For most serious trips, a practical navigation system should include:
- A regional road map or atlas
- Detailed physical topo maps for remote sections
- Appropriate land-management maps
- A baseplate compass
- Waterproof map protection
- Written route notes and coordinates
- Downloaded offline digital maps
- GPS navigation
- Current closure and access information
Before a remote journey, practice basic map-and-compass skills rather than waiting for an electronic failure to learn them.
The objective is not to collect the largest possible number of maps. It is to build a redundant navigation system that remains useful when plans change, technology fails, or conditions differ from what you expected.
When physical maps, digital navigation, terrain knowledge, and current access information work together, you can travel with greater awareness and make better decisions when the route ahead does not go according to plan.
Read More: Emergency Beacons: Safety Devices for Overlanding