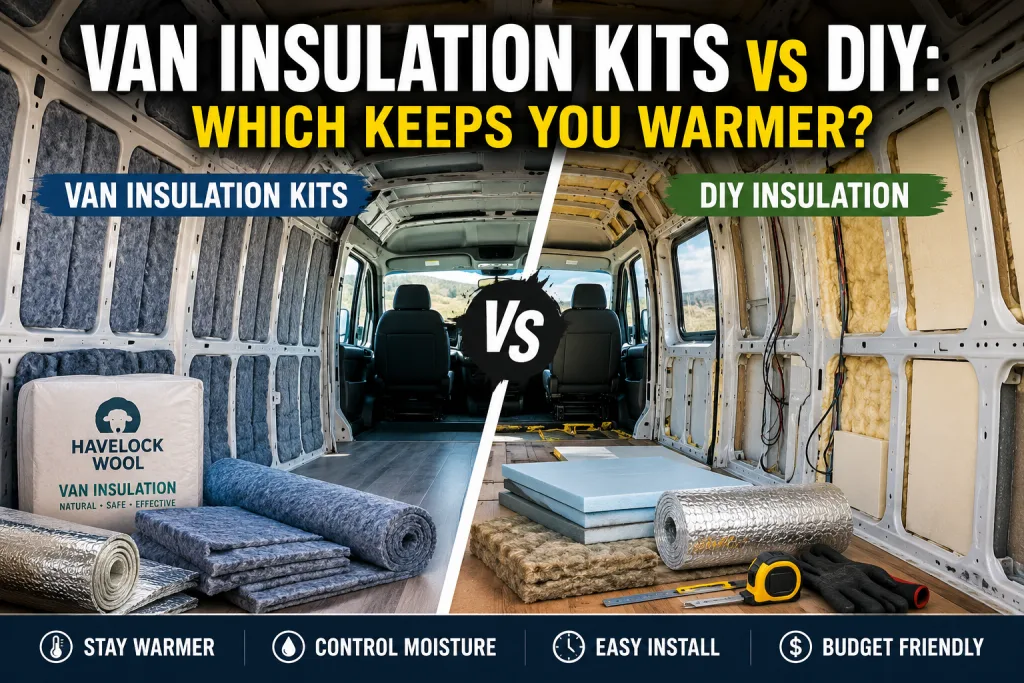
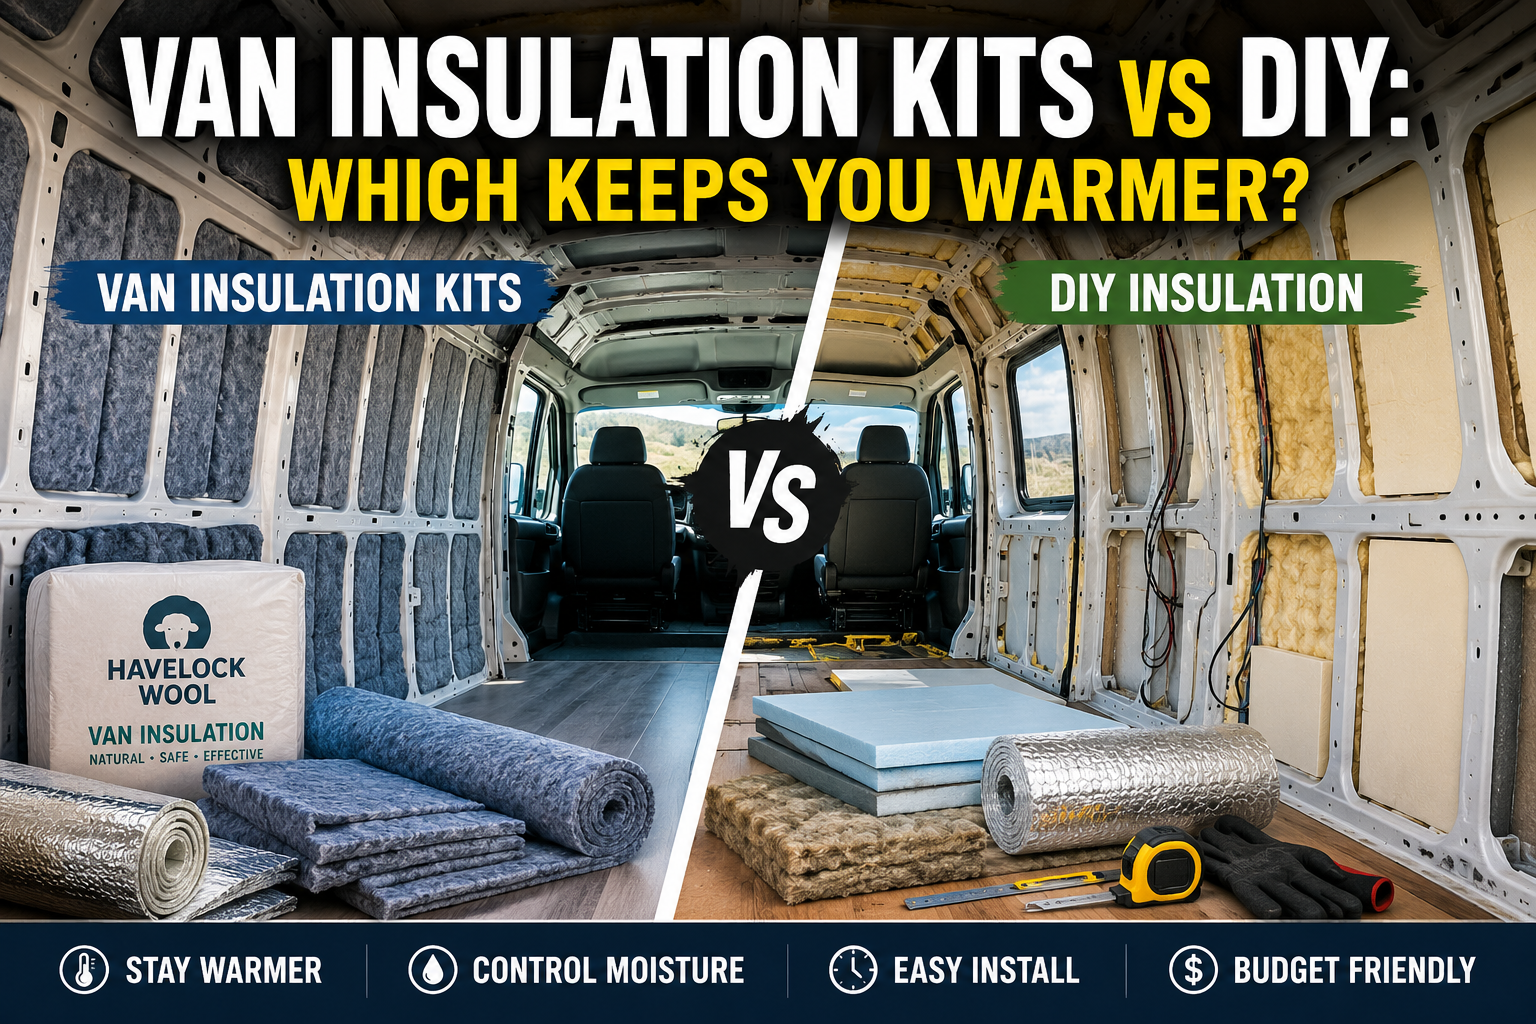
Keeping a van warm in cold weather is less about choosing the most expensive insulation and more about building a continuous, well-fitted thermal envelope around the living space. A metal van body conducts heat rapidly, while doors, windows, floor areas, structural ribs, and small installation gaps can create cold spots. Insulation slows that heat transfer, but it does not produce heat on its own.
That makes the choice between van insulation kits vs DIY more complicated than simply comparing material prices or advertised R-values. A vehicle-specific kit may make it easier to cover awkward cavities consistently, while a DIY approach gives you greater freedom to select different materials and thicknesses for the roof, walls, floor, doors, and other areas.
The goal should be to reduce heat transfer while also managing thermal bridging, air movement, moisture, and condensation. The Department of Energy notes that insulation and air sealing work together: gaps and uncontrolled air movement can undermine the performance of an otherwise well-insulated envelope.
For van owners, this is particularly important because the interior is a small, enclosed environment. Occupants add moisture through breathing, cooking, washing, and drying clothes, while cold metal surfaces can reach temperatures at which condensation forms.
So, which approach keeps you warmer? Either can work extremely well when properly designed and installed. The real difference is how easily each approach helps you achieve complete coverage, appropriate insulation thickness, good moisture management, and minimal thermal bridging.
Van Insulation Kits vs DIY: What’s the Difference?
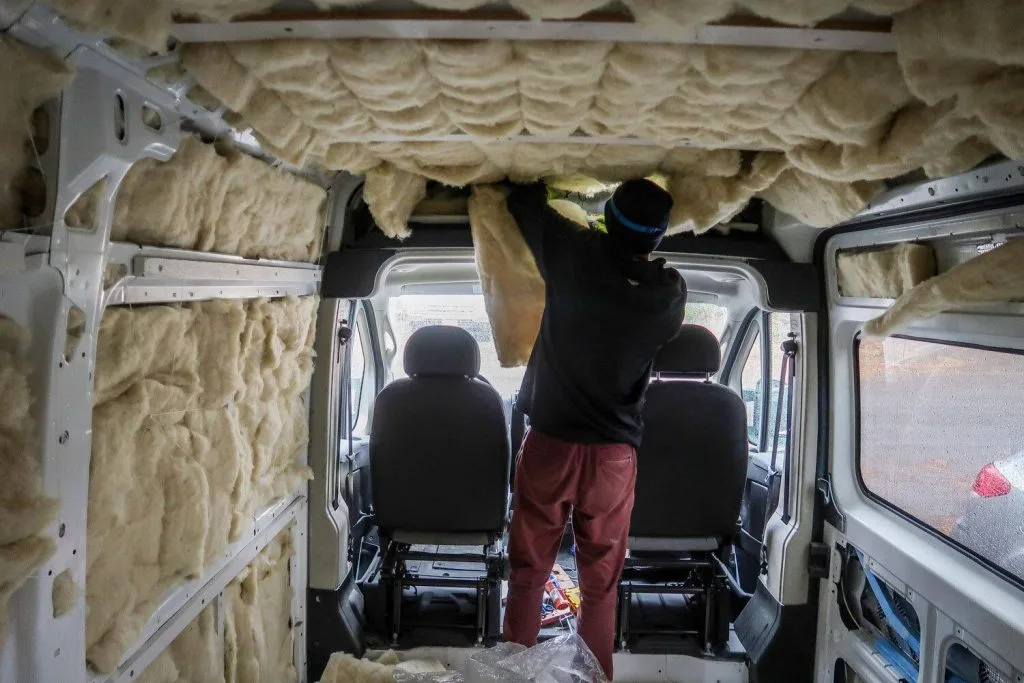
A van insulation kit is a package of insulation materials designed for a particular vehicle or conversion application. Depending on the manufacturer and kit, it may contain pre-cut or vehicle-specific insulation pieces, installation materials, and instructions. The main advantage is convenience: instead of measuring every section of the van and deciding how to fit material around ribs and irregular cavities, much of that planning has already been done.
A DIY insulation system, by contrast, means purchasing insulation materials separately and designing the installation yourself. You can choose one material throughout the van or combine several materials according to the requirements of each surface.
For example, a DIY builder might use flexible insulation in irregular wall cavities and rigid foam where a flatter, continuous layer is practical. Another builder might use wool throughout the walls and ceiling. The important point is that DIY does not automatically mean inferior insulation.
Kit Insulation: Designed for Easier Installation
The biggest advantage of a purpose-built kit is usually fitment.
Van interiors contain:
- Curved walls and ceilings
- Structural ribs
- Wiring channels
- Wheel wells
- Door cavities
- Uneven floor sections
- Small spaces that are difficult to reach
A material that fits these areas closely can make it easier to create consistent coverage. Flexible materials are particularly useful in irregular cavities. For example, Havelock’s current van wool products are designed as 2-inch batts for van applications and are intended to fit wall cavities and irregular areas.
A kit can therefore reduce the amount of measuring, cutting, and improvisation required. That matters because installation quality can have a major effect on real-world thermal performance.
A kit can also reduce the likelihood of leaving large uninsulated sections simply because they are awkward to reach. This is one reason a properly installed kit can outperform a cheaper DIY system that contains more insulation on paper but has significant gaps or poorly treated thermal bridges.
DIY Insulation: More Freedom and Material Choices
DIY gives you considerably more control over the insulation system.
Instead of being restricted to whatever material comes in a kit, you can choose based on:
- Available space
- Desired insulation thickness
- R-value
- Moisture characteristics
- Flexibility
- Weight
- Cost
- Installation difficulty
- The climate where you normally travel
R-value is useful because it measures resistance to heat flow, and higher R-values generally indicate greater resistance. However, the value depends on the material and its thickness, and the installed assembly can perform differently from an isolated material rating.
For example, Havelock currently lists its van wool at approximately R7 to R8 for a 2-inch product, depending on the specific product listing, while emphasizing that excessive compression can reduce performance.
That illustrates an important point for DIY builders: more material is not automatically better if it is installed incorrectly. Compressing insulation, leaving gaps, or creating thermal bridges can reduce the benefit of adding more insulation.
The Real Difference Is Installation Quality
When comparing van insulation kits vs DIY, the most useful question isn’t simply:
“Which material has the highest R-value?”
Instead, ask:
“Which system will allow me to create the most complete and properly installed thermal envelope?”
A moderately rated insulation that completely covers the appropriate surfaces may provide better practical results than a high-rated material installed with large gaps.
Thermal bridging is another consideration. Metal structural members can conduct heat through areas where insulation is interrupted. The Department of Energy identifies framing and other conductive paths as thermal bridges and recommends strategies that reduce these direct heat-transfer paths.
For a van, this means paying attention not only to the cavities between metal ribs but also to the ribs themselves and other exposed conductive surfaces.
How Van Insulation Kits Perform for Warmth, Moisture, and Installation
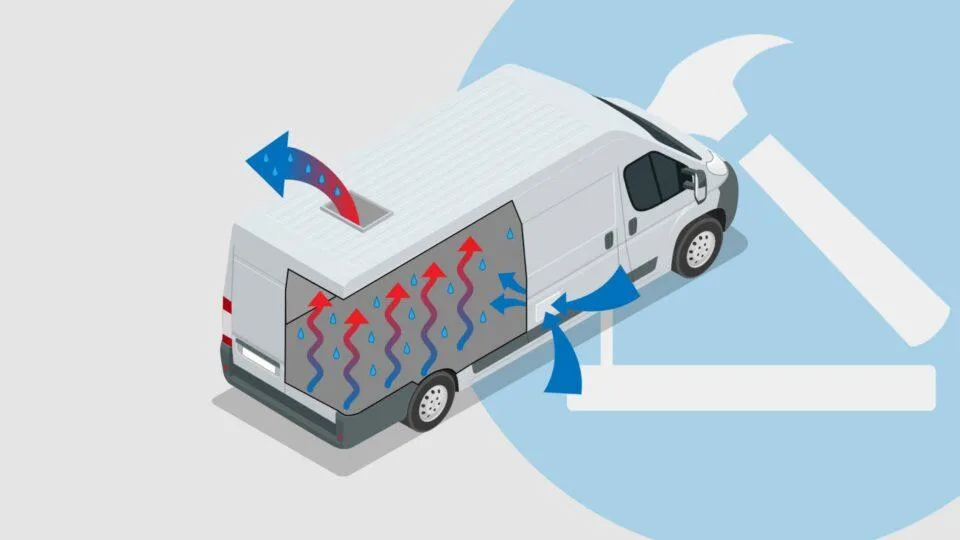
A good van insulation kit can provide three major benefits: consistent thermal coverage, simpler installation, and a more predictable result. However, its actual performance depends on the material used and how completely it is installed.
Warmth and Thermal Performance
Insulation works by slowing the movement of heat between the inside and outside of the van. During winter, that means reducing the rate at which heat from a heater, cooking, body heat, or other source escapes through the vehicle shell.
The basic principle is straightforward: greater resistance to heat flow generally means better insulation. But the total thermal performance of a van depends on more than the nominal R-value printed on the package.
The most important factors include:
- Insulation thickness
- Material thermal resistance
- Coverage
- Gaps
- Thermal bridges
- Air movement
- Windows and doors
- Floor and ceiling construction
A kit can help with several of these because the pieces are designed to fit specific sections of the vehicle.
For example, flexible insulation can be advantageous behind wall panels because it can conform to irregular cavities instead of requiring numerous small pieces of rigid board. Wool is one example: its manufacturer describes the material as able to conform to irregular spaces and be friction-fitted around curves and behind panels.
However, a kit isn’t automatically warmer simply because it is a kit. If a DIY builder achieves better continuous coverage and appropriately selected insulation thickness, the DIY system can match or exceed the kit.
Managing Thermal Bridges
Thermal bridging is especially important in metal vans.
A metal body panel can become extremely cold in winter. Structural ribs and other metal components can provide direct pathways for heat to move from the warm interior toward the cold exterior.
If insulation only fills the open cavities but leaves significant metal surfaces exposed, those areas can become noticeably colder than surrounding insulated sections.
This is why effective van insulation should be considered as a system, rather than simply filling every available cavity.
A well-designed kit may make this easier, but DIY builders can address the same problem by adding appropriately positioned continuous insulation or carefully treating exposed conductive areas.
Moisture and Condensation
Warmth isn’t the only concern. Moisture management is essential in a van.
When warm, humid interior air contacts a sufficiently cold surface, condensation can form. This can happen on windows, metal body panels, doors, and other cold areas. The risk increases when multiple people sleep inside the van, cook without adequate ventilation, dry wet clothing indoors, or use combustion-based heating without appropriate moisture and ventilation control.
The basic mechanism is related to the dew point: once a surface becomes cold enough for the surrounding air to reach saturation, water can condense on it.
This is why simply adding insulation without considering moisture isn’t necessarily a complete solution.
Different insulation materials handle moisture differently. Wool, for example, can absorb and release moisture, and Havelock specifically promotes its ability to manage humidity within van wall assemblies.
However, manufacturer-specific moisture claims should not be interpreted as meaning that ventilation is unnecessary. A well-insulated van still needs an appropriate moisture-management strategy.
Ventilation helps remove humid air generated by occupants and everyday activities. Insulation should work alongside ventilation rather than being treated as a substitute for it.
Installation Advantages of a Kit
This is where kits have their clearest advantage.
A vehicle-specific kit can reduce:
- Measuring time
- Cutting time
- Material waste
- Guesswork
- Difficult cavity fitting
- Installation errors
For someone completing their first conversion, these advantages can be significant.
The easier the material is to install correctly, the more likely the finished system will have consistent coverage. This can ultimately be more important than saving money on the initial insulation purchase.
Potential Limitations of Kits
The downside is that convenience often comes with a higher purchase price.
A kit may also limit your ability to customize the system. For example, you may want a thicker layer in the roof, a different material around the wheel wells, or rigid insulation in a particular section. A preconfigured kit may not provide the exact combination you want.
Therefore, a kit is best viewed as a simplified insulation solution, not a guarantee of maximum thermal performance.
DIY Van Insulation: Can You Get the Same or Better Warmth?
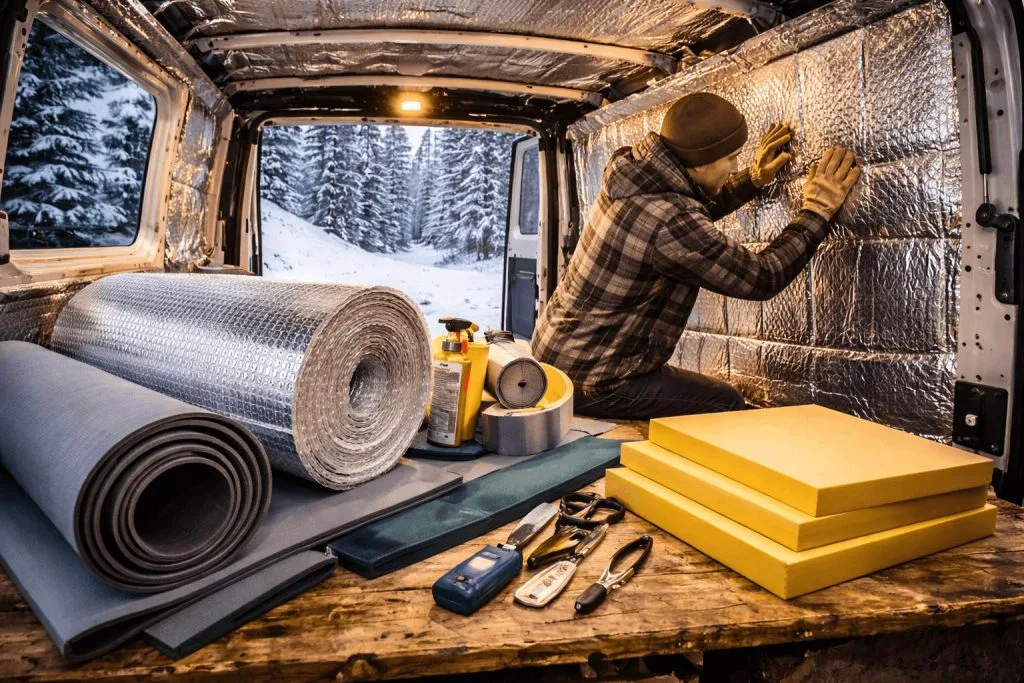
Yes. A carefully designed DIY insulation system can achieve the same or potentially better real-world warmth than a commercial kit. The advantage is that you can optimize the system for your specific van, climate, available space, and budget.
But DIY performance depends heavily on installation quality.
Choose Materials According to the Van’s Surfaces
One of the biggest advantages of DIY is the ability to use different materials where they make the most sense.
For example:
- Flexible insulation can work well in irregular wall and ceiling cavities.
- Rigid foam can be useful where flat, continuous surfaces allow it to be fitted tightly.
- Wool batts can be friction-fitted into suitable cavities and can provide both thermal and acoustic benefits.
- Thin insulation layers can be useful where clearance is extremely limited.
The objective isn’t necessarily to use the same insulation everywhere. It is to create an efficient overall system.
Wool is one example of a flexible material suited to van conversions. Current manufacturer information describes its van insulation as approximately 2 inches thick, with R-values around R7–R8 depending on the product, and warns that excessive compression can reduce its insulating performance.
Don’t Focus Only on R-Value
DIY builders often make the mistake of comparing materials solely by R-value.
A higher R-value is useful, but it doesn’t tell the whole story about a completed van.
Imagine two installations:
Van A
- Higher-rated insulation
- Several large gaps
- Exposed metal ribs
- Poorly fitted door insulation
- Uninsulated wheel wells
Van B
- Slightly lower-rated insulation
- Continuous coverage
- Carefully fitted cavities
- Better treatment of thermal bridges
- Properly insulated doors and wheel wells
Van B may provide the better real-world result despite using a lower-rated material in some areas.
The DOE similarly emphasizes that insulation and air sealing work together and that gaps can reduce the effectiveness of insulation.
Pay Special Attention to the Roof and Walls
The roof and walls make up a large portion of the van’s thermal envelope, so these surfaces deserve careful planning.
For walls, make sure insulation fills suitable cavities without being excessively compressed. Avoid leaving obvious channels where outside air can circulate freely around the insulation.
For the ceiling, maximize practical insulation thickness while leaving enough room for wiring, lighting, roof structures, and interior finishing.
The goal is continuous thermal coverage, not simply stuffing as much material as possible into every available cavity.
Don’t Ignore the Floor
The floor deserves separate attention because it can be a major pathway for heat transfer, especially when the van is parked on cold ground.
DIY builders often concentrate on the walls and ceiling while giving the floor less consideration because available floor height is limited.
A practical floor assembly must balance:
- Insulation thickness
- Headroom
- Weight
- Compression resistance
- Moisture exposure
- Flooring strength
The best material for a floor is therefore not necessarily the same material used in the walls.
Insulate Doors and Difficult Areas
Doors can become weak points in an otherwise well-insulated van because they contain large metal surfaces, cavities, seals, windows, and moving components.
The same applies to:
- Sliding doors
- Rear doors
- Wheel wells
- Cab areas
- Roof ribs
- Small exposed metal sections
These areas are easy to overlook during a DIY build.
A commercial kit may make some of these sections easier to address, while a DIY builder must deliberately inspect the entire van shell before finishing the interior.
Avoid Compressing Insulation
More insulation does not always mean better insulation.
Some materials rely on a particular thickness and structure to achieve their rated performance. Compressing them into a smaller space can reduce their effectiveness. Havelock, for example, specifically notes that over-compressing its wool insulation compromises R-value.
DIY builders should therefore follow the material manufacturer’s installation guidance rather than assuming that tightly packing every cavity will improve thermal performance.
Moisture Control Must Be Part of the DIY Plan
A DIY build also gives you greater control over moisture management—but that means you have greater responsibility.
Before closing the walls, consider:
- Where moisture can enter
- How water drains from the van body
- Whether insulation can dry if it becomes damp
- How interior humidity will be removed
- Where ventilation openings are located
- Whether the chosen materials are appropriate for the environment
Avoid blindly copying residential wall construction into a vehicle. A cargo van’s metal shell, drainage paths, changing temperatures, and compact interior create a different environment.
For example, Havelock’s guidance specifically argues that moisture management in vans needs to account for how cargo-van bodies are designed to drain water and for moisture generated inside the living space.
DIY Can Beat a Kit—If You Build the Whole System Correctly
The strongest argument for DIY is customization.
You can spend more insulation budget where it matters most, combine materials, accommodate unusual van layouts, and address thermal bridges that a standard kit may not fully account for.
But DIY also introduces more opportunities for mistakes.
If you are inexperienced, the savings from buying individual materials can disappear if you purchase too much material, cut it incorrectly, leave gaps, or later have to remove finished panels to correct installation problems.
Van Insulation Kits vs DIY: Head-to-Head Warmth Comparison
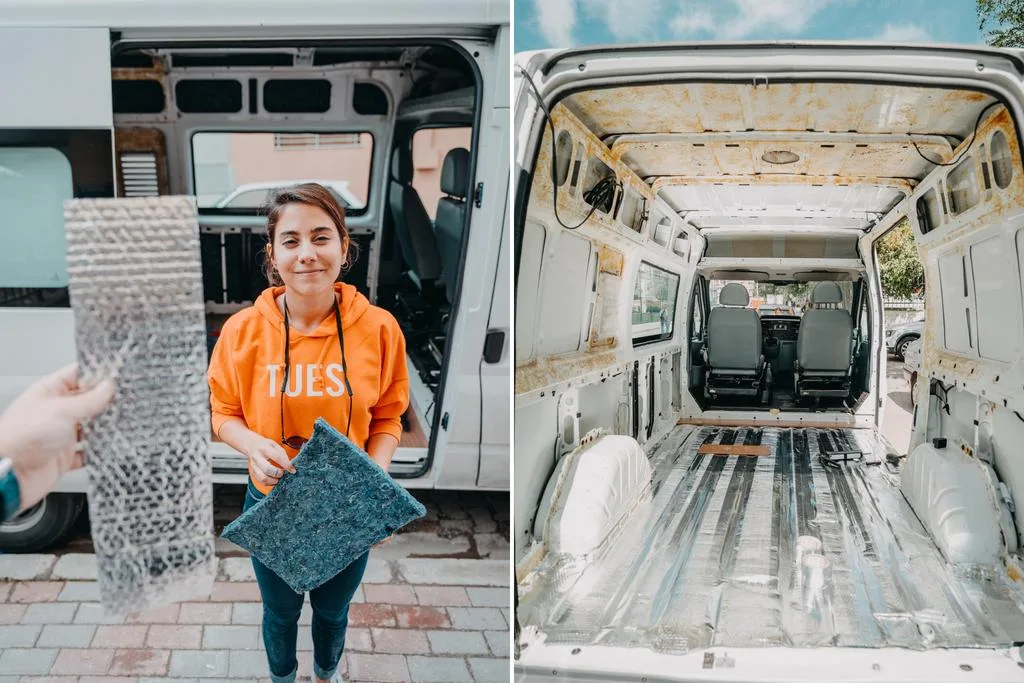
The van insulation kits vs DIY decision is ultimately a comparison between convenience and control. A professionally designed or vehicle-specific kit can make it easier to achieve consistent coverage, while a DIY system gives you the freedom to combine materials and adjust insulation thickness to suit individual areas of the van.
However, neither option is automatically warmer. The installation quality, coverage, thermal bridging, insulation thickness, and moisture strategy matter more than whether the insulation was purchased as a kit or assembled yourself. The U.S. Department of Energy notes that insulation performance depends on R-value, while properly installed high-performance insulation should avoid gaps, voids, compression, misalignment, and excessive thermal bridging.
| Factor | Van Insulation Kit | DIY Insulation |
|---|---|---|
| Thermal performance | Very good when correctly fitted | Potentially excellent |
| Fitment | Usually vehicle-specific | Depends on builder |
| Installation time | Faster | Usually slower |
| Material flexibility | Limited to kit design | Excellent |
| Thermal bridging | Easier to address if kit is well designed | Builder must plan it |
| Difficult cavities | Easier | Requires more cutting/fitting |
| Upfront cost | Usually higher | Usually lower |
| Material waste | Often lower | Can be higher |
| Customization | Moderate | Very high |
| Skill required | Lower | Higher |
| Risk of installation mistakes | Lower | Higher |
| Best advantage | Convenience and consistency | Control and optimization |
Thermal Performance
R-value is an important starting point because it represents resistance to heat flow, and insulation generally becomes more resistant to heat transfer as R-value increases. But a van should not be treated like a simple wall cavity where the advertised R-value tells the whole story.
A van contains extensive metal structure, including ribs, supports, door frames, wheel wells, and other conductive components. These can create thermal bridges that bypass portions of the insulation. Continuous insulation is one established way of reducing heat loss through such conductive paths.
This creates an important distinction:
Kit: A vehicle-specific kit can make it easier to achieve consistent coverage around the van’s irregular surfaces.
DIY: A skilled builder can potentially create an even better thermal envelope by combining different materials and adding continuous layers where practical.
For example, flexible automotive insulation such as 3M Thinsulate is available in products specifically designed for transportation applications and can be adapted to irregular vehicle shapes.
Rigid foam can provide another option where the geometry allows continuous sheets to be installed and their joints properly detailed. The advantage is that DIY builders aren’t restricted to one insulation type throughout the entire van.
Coverage and Gaps
This is where an inexpensive DIY system can either succeed or fail.
Suppose a DIY builder purchases insulation with an impressive R-value but leaves significant gaps around ribs, doors, corners, and the roof. The theoretical performance of the material doesn’t represent the performance of the completed van.
Conversely, a slightly less aggressive insulation material that is carefully fitted throughout the available space can produce a more consistent result.
The same principle applies to a kit. A kit isn’t automatically superior simply because it is pre-cut. It still has to be installed correctly, with appropriate adhesion or fastening and without unnecessary compression or gaps.
Thermal Bridging
Thermal bridging can be particularly noticeable in cold weather. Metal structural members can conduct heat much more readily than insulation, creating colder interior surfaces.
For this reason, the strongest insulation systems don’t simply fill the cavities. They also consider how to reduce the amount of exposed conductive metal.
Continuous insulation is valuable because it can interrupt some of these conductive paths. The DOE’s building-science guidance specifically identifies thermal bridging as a source of heat loss and explains how continuous rigid insulation can reduce it.
In a van, the exact solution depends on the vehicle’s construction and available interior space. The goal is to reduce unnecessary direct paths between the cold exterior shell and warm interior.
Moisture and Condensation
Warmth and moisture are closely connected.
A well-insulated van can still develop condensation if humid interior air reaches sufficiently cold surfaces. Sleeping occupants, cooking, wet clothing, washing, and some heating methods can all add moisture to the interior.
This means insulation should not be viewed as a substitute for ventilation. Current van-insulation guidance continues to emphasize that insulation, moisture management, and ventilation need to work together.
Material selection also matters. For example, 3M describes some Thinsulate automotive products as using hydrophobic fibers designed to resist moisture, mold, and mildew.
A DIY system can be excellent here because the builder can deliberately choose materials based on the van’s climate and moisture conditions. But that flexibility also creates more responsibility for making the correct choices.
Installation Time and Difficulty
A kit generally wins on installation time.
A vehicle-specific kit can reduce the amount of:
- Measuring
- Pattern-making
- Cutting
- Material selection
- Trial fitting
- Waste management
This can be particularly valuable for a first-time van builder.
DIY takes longer because you need to determine what material belongs in each area and create the shapes yourself. But the extra work gives you considerably more control.
Cost and Value
DIY usually offers more opportunities to control the budget.
You can buy materials individually, compare prices, use different materials in different locations, and avoid paying for kit components you don’t need.
However, cheapest isn’t necessarily best value. Wasted material, incorrect cuts, installation mistakes, replacement adhesive, and the time required to redo poorly insulated areas can increase the final cost.
A kit’s higher purchase price can therefore represent payment for planning, fitment, convenience, and reduced installation time.
Which One Keeps a Van Warmer?
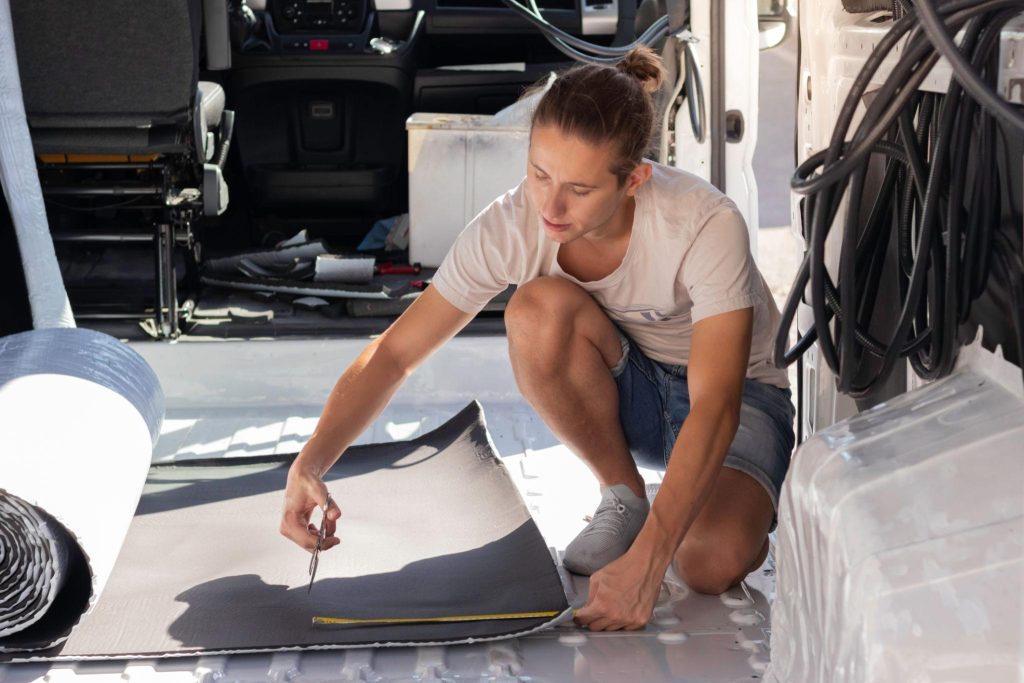
There is no universal winner.
A high-quality van insulation kit will generally provide a more predictable result for someone who wants straightforward installation. But a carefully designed DIY system can match or exceed it.
If two vans use similar-quality materials and one has complete coverage with minimal thermal bridging while the other has gaps and exposed metal, the first van will generally have the better thermal envelope regardless of whether its insulation came from a kit.
The most important factors are:
- Continuous insulation coverage
- Appropriate insulation thickness
- Minimal gaps and voids
- Reduced thermal bridging
- Correct installation without excessive compression
- Appropriate treatment of doors and wheel wells
- Adequate floor and roof insulation
- Insulated windows or thermal covers
- A sensible moisture and ventilation strategy
Recent van-insulation guidance similarly emphasizes designing around coverage rather than simply chasing the highest advertised R-value.
Windows deserve special attention because even a well-insulated metal shell can have substantial heat loss through large areas of glass. Insulated window covers can therefore complement the wall and ceiling insulation rather than trying to solve the entire thermal problem through thicker wall insulation alone.
For Cold-Weather Van Camping
If the primary goal is winter camping, prioritize:
- Roof and ceiling insulation
- Upper-wall coverage
- Thermal-bridge reduction
- Insulated doors
- Floor insulation appropriate to available space
- Window covers
- Moisture control
- Adequate heating
Remember that insulation slows heat loss; it doesn’t create heat. Even an excellent insulation system still needs an appropriate heat source when outside temperatures are substantially below the desired interior temperature.
Which Should You Choose: Van Insulation Kit or DIY?

The right choice depends less on which approach is theoretically warmer and more on your skills, budget, vehicle, climate, and priorities.
Choose a Van Insulation Kit If:
A kit is usually the better choice when you want:
- Faster installation: Pre-cut or vehicle-specific components reduce measuring and cutting.
- Simpler planning: The kit manufacturer has already determined many of the required shapes and quantities.
- Predictable fitment: This is especially useful around curved walls, doors, wheel wells, and irregular cavities.
- Less installation experience: First-time builders can avoid some of the design decisions involved in creating a complete insulation system.
- Less material waste: Properly planned components can reduce unnecessary offcuts.
- A straightforward conversion: If you want to finish the insulation stage quickly and move on to flooring, walls, cabinets, and electrical work, convenience has real value.
A kit is particularly attractive when your van model has a well-developed conversion ecosystem and several reputable suppliers already offer vehicle-specific solutions.
Choose DIY If:
DIY makes more sense when you:
- Want to minimize upfront material costs.
- Enjoy hands-on construction.
- Want complete control over material selection.
- Need to accommodate a non-standard van layout.
- Want different insulation types in different areas.
- Have enough time to measure, cut, test-fit, and install carefully.
- Are comfortable researching material specifications.
- Want to optimize insulation around specific thermal bridges.
- Prefer to upgrade or modify the system as your conversion develops.
DIY also gives you the opportunity to create a hybrid insulation system. For example, you might use flexible insulation in curved cavities and rigid insulation where a continuous flat layer can be installed effectively.
This flexibility can be a major advantage because different areas of a van have different requirements.
Best Option for Maximum Warmth
For most builders who want the best possible real-world warmth, a carefully planned hybrid approach can be more useful than choosing between a kit and DIY as if they were completely separate categories.
A practical strategy is to:
- Use vehicle-appropriate flexible insulation in irregular wall and ceiling cavities.
- Use rigid insulation where flat surfaces allow it to be installed continuously and correctly.
- Reduce thermal bridging rather than simply filling cavities.
- Insulate the roof carefully, since it is a major part of the thermal envelope.
- Give the floor appropriate insulation without sacrificing excessive interior height.
- Insulate doors and wheel wells, which are easy to overlook.
- Use insulated window covers to reduce heat transfer through glass.
- Avoid excessive compression of materials that depend on their designed thickness.
- Plan for ventilation and moisture control.
- Follow the manufacturer’s installation, adhesive, temperature, and fire-safety requirements for every material.
This approach is consistent with broader building-science principles: high-performing insulation needs proper installation, minimal gaps and voids, appropriate air control, and reduced thermal bridging.
For example, 3M currently offers multiple Thinsulate products for automotive and transportation applications, demonstrating why buyers should identify the specific product and its technical specifications rather than treating every product sold under a material family as interchangeable.
Best for convenience: Van insulation kit.
Best for customization: DIY.
Best for budget control: DIY.
Best for first-time builders: Vehicle-specific kit.
Best potential thermal performance: Either one, provided it is correctly designed and installed.
Best overall approach for a highly optimized build: A carefully planned hybrid system.
The important distinction is that the warmest van isn’t necessarily the one with the most expensive insulation or the highest advertised R-value. It is the one with the best-installed thermal envelope.
Conclusion
When comparing van insulation kits vs DIY, there isn’t a simple rule that says one approach will always keep a van warmer. A quality kit provides convenience, predictable fitment, and a faster installation, making it an excellent option for first-time builders or anyone who values simplicity.
DIY insulation offers greater freedom. You can select materials according to each part of the van, control your budget, increase insulation where space permits, and specifically address thermal bridges and difficult areas. With careful planning and installation, DIY can perform just as well as—or potentially better than—a commercial kit.
The most important factors remain coverage, insulation thickness, gaps, thermal bridging, moisture management, doors, floors, ceilings, and windows. R-value is useful for comparing materials, but it should not be treated as the only measure of a finished van’s thermal performance.
Ultimately, choose a van insulation kit if you want a simpler, faster, more predictable installation. Choose DIY if you want maximum control and are willing to invest additional time and effort.
For maximum warmth, the smartest strategy is to focus on the complete insulation system rather than the label on the box. A carefully fitted combination of appropriate materials, continuous coverage, thermal-bridge control, insulated windows and doors, and proper ventilation will do more for cold-weather comfort than simply buying the insulation with the biggest R-value claim.
Read More: Single vs Dual Zone Fridges for RVs: Which is Right for You?