Overlanding means traveling far from cities and staying off the grid for long periods. Power becomes very important during these trips. You need electricity for lights, fridges, phones, GPS units, and safety gear. Solar panels help you generate power anywhere the sun shines. But solar panels alone are not enough. You also need a system that controls how this power flows to your batteries.
This is where solar charge controllers play a key role. They manage the energy coming from solar panels and send it safely to your battery bank. Without a proper controller, your batteries can overcharge, overheat, or fail early. Overland trips often involve heat, dust, and rough roads. A weak or low-quality controller may stop working when you need it most. Choosing one of the best solar charge controllers helps you stay powered, safe, and stress-free during long adventures.
What Is a Solar Charge Controller?
A solar charge controller is a device placed between your solar panels and your batteries. Its main job is to control how much power flows into the battery. Solar panels can produce more voltage than batteries can safely handle. The controller adjusts this power before it reaches the battery.
In an overland solar setup, the charge controller acts like a guard. It watches the battery level at all times. When the battery is low, it allows charging. When the battery is full, it reduces or stops the power flow. This process keeps the battery healthy and stable.
Regulating voltage means keeping the electrical pressure at a safe level. Protecting batteries means preventing damage like overcharging, deep discharging, or overheating. A good controller does both jobs at the same time. It makes sure your solar system runs smoothly while extending battery life. This balance is critical when you depend on solar power far from help.
Why Overlanders Need High-Quality Solar Charge Controllers
Overland trips often last days or weeks. During this time, your power system works every day. Fridges run all the time. Lights turn on every night. Devices charge multiple times a day. These steady demands put stress on your batteries and solar system.
High-quality solar charge controllers protect your batteries during these long off-grid trips. They control charging stages carefully. This helps avoid overcharging during strong sunlight and undercharging during cloudy days. Cheap controllers may lack this precision. Over time, this can reduce battery capacity and cause early failure.
Harsh environments add more risk. Overlanding exposes gear to heat, dust, moisture, and vibration. Poor controllers may overheat or fail under these conditions. Loose internal parts can break from constant movement. Dust can block cooling vents. Heat can damage electronics.
A reliable controller is built to handle these challenges. It protects both batteries and solar panels. It keeps your system running even in tough conditions. This reliability gives peace of mind when traveling far from power sources or repair shops.
Types of Solar Charge Controllers for Overlanding
Choosing the right type of solar charge controller is very important for overland travel. The two main types used in solar systems are PWM and MPPT. Each type works differently and suits different power needs. Understanding these differences helps you build a reliable and efficient overland power system.
PWM Solar Charge Controllers
PWM stands for Pulse Width Modulation. These controllers work by slowly reducing the amount of power sent from the solar panel to the battery as the battery fills up. They connect the solar panel directly to the battery and lower the voltage to match the battery level.
PWM controllers are simple in design. They are easy to install and usually cost less. For small overland setups with low power needs, they can work well. They are often used with small solar panels, basic lighting systems, or occasional device charging.
However, PWM controllers have clear limits. They do not convert extra voltage into usable power. This means some solar energy is wasted, especially when panel voltage is much higher than battery voltage. In overlanding setups with limited roof space, wasting power is a big drawback. PWM controllers also struggle in changing sunlight conditions. Their efficiency drops in the early morning, late afternoon, and cloudy weather. For long trips and higher power needs, these limits become more noticeable.
MPPT Solar Charge Controllers
MPPT stands for Maximum Power Point Tracking. These controllers are more advanced. They constantly track the best voltage and current coming from the solar panels. Then they convert extra voltage into usable charging power for the battery.
This process greatly improves efficiency. MPPT controllers can deliver more charging power from the same solar panel. This is very helpful in overlanding, where space for panels is limited. They perform well during cloudy weather and when the sun angle changes throughout the day.
MPPT controllers are ideal for mobile systems. Overland vehicles often park in shaded areas or move throughout the day. MPPT technology adjusts quickly to these changes. It ensures the battery receives the most power possible at all times. Because of this reliability and efficiency, MPPT controllers are often preferred for overlanding. They cost more than PWM models, but the performance benefits usually outweigh the price difference.
Key Factors to Consider When Choosing the Best Solar Charge Controllers
Selecting the right controller is not just about type. Several technical and practical factors affect how well it performs in an overland system.
System voltage compatibility is the first thing to check. Most overland rigs use 12V systems, but some larger setups use 24V. The controller must support your system voltage. Some models can auto-detect voltage, which makes installation easier and reduces setup errors.
Current rating is also critical. The controller must handle the maximum current produced by your solar panels. If your panels produce more current than the controller can handle, the system may shut down or become damaged. Choosing a controller with a slightly higher rating than your system needs adds safety and room for expansion.
Battery type support matters a lot. Overlanders use different batteries, such as AGM, gel, flooded lead-acid, or lithium. Each type needs specific charging settings. A good controller supports multiple battery types and allows proper charge profiles. This helps extend battery life and improves charging accuracy.
Efficiency and charging speed affect daily power availability. High-efficiency controllers deliver more usable power to the battery. Faster and smarter charging means your system recovers quicker after heavy use. This is very important during long stays without engine charging.
Weather resistance and durability should never be ignored. Overland gear faces dust, heat, rain, and vibration. A strong controller has solid casing, good heat control, and stable internal components. These features prevent failure in harsh conditions.
Ease of monitoring and control adds convenience. Displays, indicators, or mobile monitoring help you track system health. You can see battery levels, charging status, and errors early. This makes it easier to manage power and avoid problems while traveling far from help.
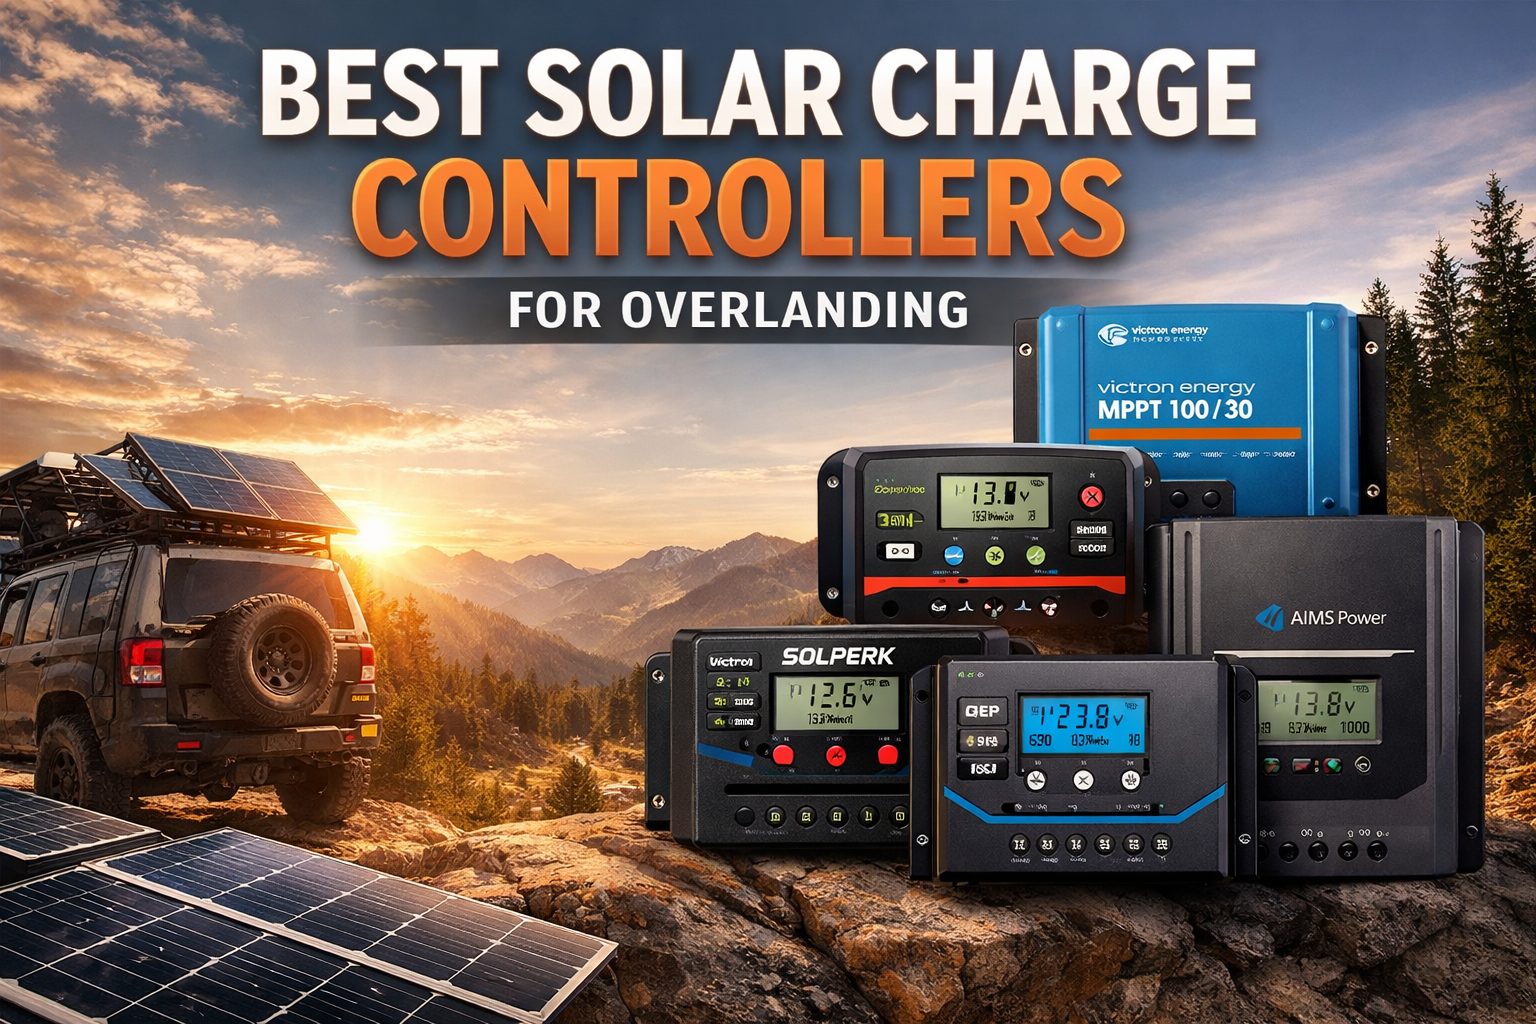
Best Solar Charge Controllers for Overlanding (Top Picks)
#1 SOLPERK 10A Waterproof Solar Charge Controller

The SOLPERK 10A Waterproof Solar Charge Controller is a compact and dependable solution for small overland and RV solar systems. Using PWM (Pulse Width Modulation) technology, it regulates power flow from solar panels to batteries safely and efficiently. Its fully waterproof design makes it suitable for outdoor mounting on roof racks or rear decks, even in harsh travel conditions.
This controller automatically detects 12V or 24V systems, reducing setup errors and making installation beginner-friendly. It is ideal for basic power needs such as LED lighting, phone charging, or running a small fridge while traveling off-grid.
- Rated current: 10A
- System voltage: Auto-detect 12V / 24V
- Technology: PWM charge regulation
- Max output power: ~150W (12V) / ~300W (24V)
- Protection: Overcharge, overload, short circuit, reverse polarity
- Build: IP67 waterproof rugged housing
- Indicators: LED status lights
- Waterproof design ideal for outdoor travel
- Simple and beginner-friendly installation
- Auto voltage detection saves setup time
- Budget-friendly for small solar systems
- PWM controller is less efficient than MPPT
- Limited power handling for larger solar arrays
- Best suited for basic, low-demand systems
#2 Depvko 30A PWM Solar Charge Controller

The Depvko 30A Solar Charge Controller is a step up from smaller controllers, offering higher current capacity for moderate overland and RV solar setups. While it uses PWM technology, it can efficiently manage larger solar panels and battery banks. The built-in LCD display clearly shows system status, battery level, and charging information, making power management easier while on the road.
This controller also includes dual USB outputs, allowing you to charge phones, tablets, and other small devices without extra adapters. With essential protection features such as overcharge, overcurrent, reverse polarity, and short-circuit protection, it provides reliable performance for travelers looking for a budget-friendly and practical solar charge controller.
- Rated Current: 30 Amps
- System Voltage: Auto-detects 12V / 24V
- Display: LCD screen for real-time status
- USB Output: Dual 5V USB ports
- Protection: Overcharge, overcurrent, reverse polarity, short circuit
- Technology: PWM regulation
- Higher 30A current rating supports larger setups
- LCD display makes monitoring easy
- Dual USB ports for charging small devices
- Good balance of features and affordability
- PWM technology is less efficient than MPPT
- Not suitable for very high-power solar systems
- Limited advanced battery configuration options
#3 PowMr 60A Solar Charge Controller

The PowMr 60A Solar Charge Controller is a heavy-duty PWM solution built for larger overlanding and RV solar systems. Designed to handle high current loads, it’s ideal for setups with multiple solar panels or high-capacity battery banks. The controller automatically detects system voltage (12V, 24V, 36V, or 48V) and adjusts charging parameters accordingly.
A large multi-function LCD display allows you to monitor voltage, current, and charging stages at a glance. The PowMr controller supports a wide range of battery types—including lead-acid, AGM, gel, and lithium—making it a flexible option for diverse off-grid power needs. Built-in safety protections guard against overcharging, reverse polarity, and short circuits, ensuring reliable long-term operation.
- Rated Current: 60 Amps
- System Voltage: Auto-detects 12V / 24V / 36V / 48V
- Max PV Input Voltage: ~100V
- Display: Multi-function LCD screen
- Battery Support: Lead-acid, AGM, gel, lithium
- Protection: Reverse polarity, overcharge, short circuit
- Handles large solar setups effectively
- Wide voltage range adds installation flexibility
- Supports multiple battery chemistries
- Strong built-in protection features
- PWM efficiency is lower than MPPT controllers
- More complex than entry-level controllers
- Larger size may require additional mounting space
#4 AIMS Power 100A MPPT Solar Charge Controller

The AIMS Power 100A MPPT Solar Charge Controller is a high-performance solution built for serious overland and off-grid power users. Unlike PWM controllers, it uses MPPT (Maximum Power Point Tracking) technology to maximize energy harvest from your solar panels. MPPT controllers continuously track the optimal voltage and current combination, converting excess panel voltage into usable charging current for your batteries—significantly improving efficiency, especially in variable sunlight conditions.
With a robust 100-amp charging capacity, this controller can support large solar arrays and high-capacity battery banks. It’s well suited for full camper builds, RVs, and extended overlanding trips where reliable, high-output power is essential for running demanding appliances and electronics.
- Rated Current: 100 Amps
- Technology: MPPT (Maximum Power Point Tracking)
- System Voltage: Supports 12V and 24V systems
- Efficiency: High energy conversion rate
- Protection: Overload, short-circuit, reverse polarity
- MPPT technology maximizes daily power harvest
- High 100A capacity supports large solar arrays
- Excellent performance in changing light conditions
- Ideal for full camper and extended off-grid systems
- More expensive than PWM-based controllers
- Larger and heavier than entry-level units
- May require basic technical knowledge for optimal setup
#5 Victron Energy BlueSolar MPPT Charge Controller

The Victron Energy BlueSolar MPPT Charge Controller is a premium solution known for its efficiency, reliability, and rugged build quality. Using advanced MPPT (Maximum Power Point Tracking) technology, it captures and converts solar energy far more efficiently than traditional PWM controllers, making it ideal for overlanders who depend on consistent power in varying weather conditions.
Victron is widely respected for producing professional-grade power equipment, and the BlueSolar series reflects that reputation. A standout feature is its optional Bluetooth connectivity (via a separate accessory), which allows users to monitor system performance directly from a smartphone—an excellent advantage when managing power on the trail or at camp.
- Rated Current: 10 Amps (larger models available)
- Technology: MPPT (Maximum Power Point Tracking)
- System Voltage: Supports 12V and 24V systems
- Monitoring: Optional Bluetooth connectivity
- Protection: Overcharge, short circuit, overcurrent
- MPPT technology boosts energy capture efficiency
- Highly trusted brand with proven reliability
- Optional Bluetooth enables convenient monitoring
- Great balance for small to medium solar systems
- Lower current rating compared to larger MPPT units
- Bluetooth monitoring requires an additional purchase
- Higher price than basic PWM controllers