Overlanding is more than just off-roading—it’s a self-reliant form of travel that combines off-grid adventure with long-distance exploration. Enthusiasts journey through rugged terrain, often far from established infrastructure, relying on their vehicles not just for transportation but as a mobile base of operations. Whether you’re out for a weekend or a cross-country expedition, the need for reliable, sustainable power on the trail is undeniable.
As highlighted by sources like PowerStore and Gearlanders, having consistent energy access is critical for safety, comfort, and convenience. From powering GPS systems and mobile devices to keeping refrigerators running and lights on, overlanders require efficient and dependable energy solutions that won’t disrupt the serenity of nature.
This is where solar power shines—literally. As an eco-friendly, silent, and cost-effective off-grid energy source, solar panels allow travelers to recharge their batteries without relying on noisy generators or frequent fuel stops. With recent advances in portable solar technology, it’s easier than ever to harness the sun’s energy and stay fully powered, no matter how far off the grid your journey takes you.
Understanding Solar Power Basics
How Solar Power Works
At the heart of any solar system lies the photovoltaic (PV) cell—a technology that converts sunlight directly into electricity. These cells are typically arranged in panels, which capture solar radiation and generate direct current (DC) electricity. However, most overlanding devices (like fridges, laptops, and lights) run on alternating current (AC) or require stable voltage levels, making energy storage and conversion essential.
Once solar panels generate DC power, it is routed through a charge controller, which regulates the voltage and current going into the battery to prevent overcharging. The stored energy in the battery can then be accessed as needed and, when required, passed through an inverter to convert DC to AC, making it compatible with standard electronics.
Gearlanders notes that a properly integrated solar system allows overlanders to remain self-sufficient for extended periods, maintaining essential gear without relying on external power sources or fuel refills.
Key Components
A reliable solar setup for overlanding depends on the quality and compatibility of a few key components:
1. Solar Panels
There are three main types commonly used in overlanding:
-
Monocrystalline: Highly efficient and space-saving; best for limited roof or storage space.
-
Polycrystalline: Slightly less efficient but more affordable.
-
Thin-Film: Lightweight and flexible; ideal for unconventional mounting surfaces but less durable.
Choosing the right panel depends on how much space, weight, and power output your rig can handle.
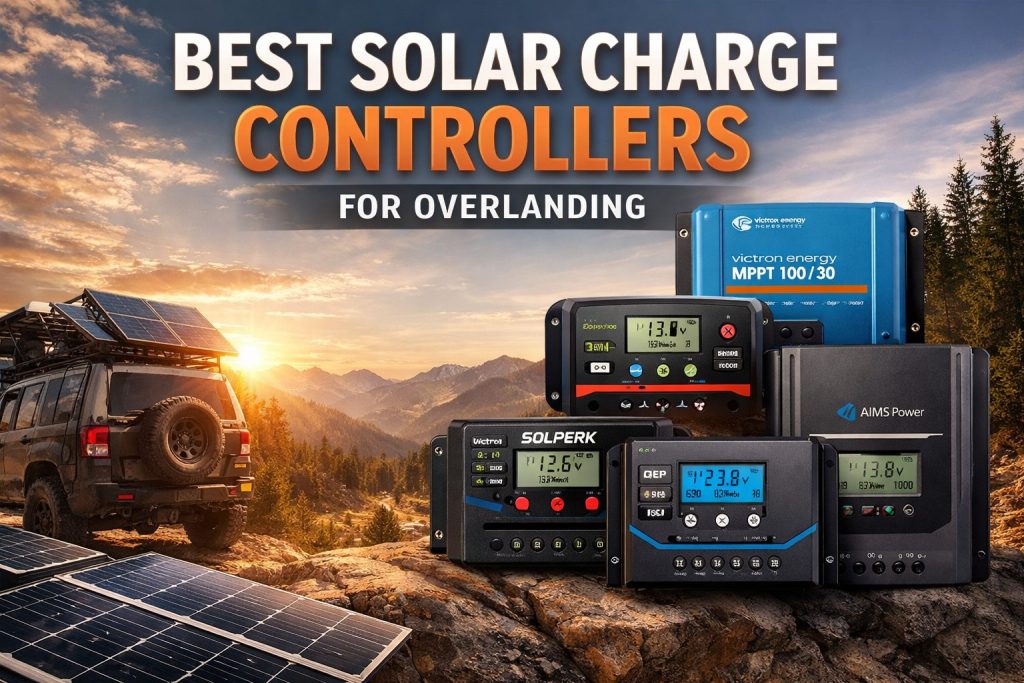
2. Charge Controllers: MPPT vs. PWM
A charge controller ensures that energy flowing from the panel into your battery is safely regulated.
-
PWM (Pulse Width Modulation) controllers are budget-friendly and suitable for small-scale systems.
-
MPPT (Maximum Power Point Tracking) controllers are more advanced—they extract maximum energy from solar panels, especially useful in changing light conditions. For overlanding, where power efficiency is critical, MPPT is typically the preferred choice despite a higher upfront cost.
3. Batteries: Lithium vs. Lead-Acid
Storing solar energy efficiently is just as important as generating it.
-
Lithium Iron Phosphate (LiFePO₄) batteries are lightweight, long-lasting, and highly efficient. Though pricier, they offer deeper discharge and faster charging.
-
Lead-Acid (AGM/gel) batteries are more affordable but heavier, slower to charge, and have shorter lifespans.
-
Portable power stations, which combine lithium batteries with built-in inverters and charge controllers, are gaining popularity for their plug-and-play simplicity and portability, ideal for short trips or emergency power.
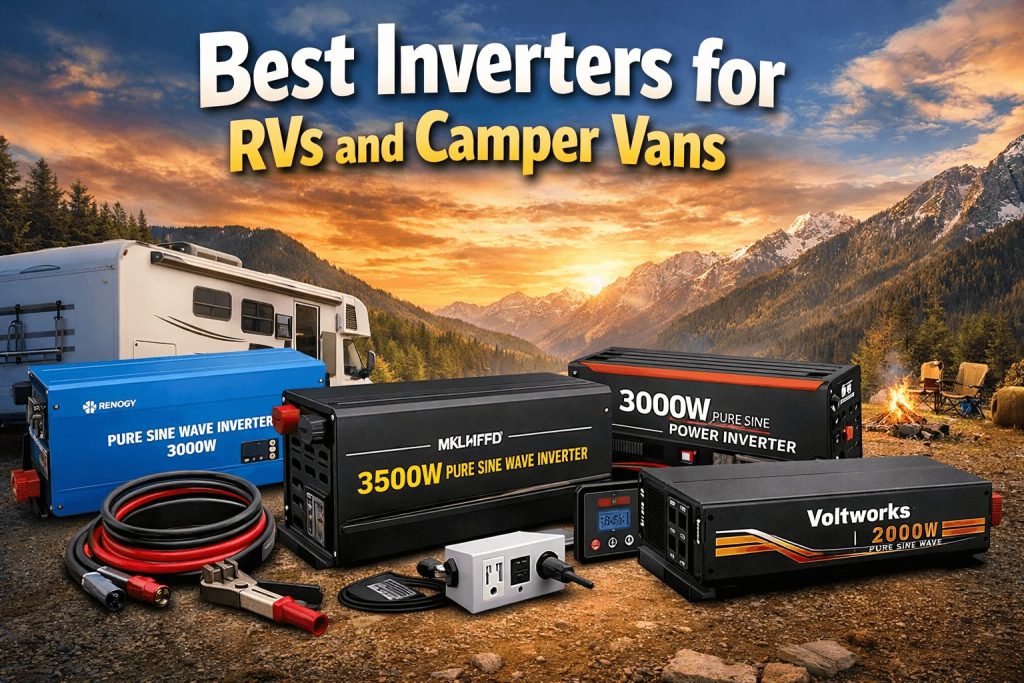
4. Inverters: DC to AC Conversion
If you’re powering AC appliances, you’ll need an inverter. Pure sine wave inverters are recommended because they produce clean, stable electricity that’s safe for sensitive electronics. Modified sine wave inverters are cheaper but can cause overheating or inefficiency in devices like laptops and compressors.
Types of Solar Panels & Their Pros/Cons
When selecting a solar panel system for overlanding, it’s important to understand the differences in technology and design. These variations impact everything from efficiency and weight to durability and price. Below, we break down the main categories based on cell technology and form factor—both critical when designing a system that fits your travel style.
By Cell Technology
Monocrystalline Panels
-
Efficiency: High (typically 18–22%)
-
Cost: Higher
-
Weight: Moderate
-
Space Requirements: Compact; ideal for smaller rigs or rooftops
Pros: Excellent performance even in low-light conditions, long lifespan
Cons: Higher cost per watt
Polycrystalline Panels
-
Efficiency: Moderate (around 15–17%)
-
Cost: Lower
-
Weight: Slightly heavier than mono
-
Space Requirements: Requires more area for the same output
Pros: Budget-friendly and reliable
Cons: Less efficient and less compact than monocrystalline
Thin-Film Panels
-
Efficiency: Low to moderate (10–12%)
-
Cost: Moderate
-
Weight: Very light
-
Space Requirements: Requires a large surface area
Pros: Flexible, lightweight, easy to mount on irregular surfaces
Cons: Lower efficiency and shorter lifespan; not ideal for power-hungry setups
By Form Factor
Rigid Panels
-
Best For: Permanent rooftop installations
Pros: Durable, weather-resistant, efficient cooling through airflow underneath
Cons: Heavier and bulkier, requires drilling or mounting brackets
Flexible/Foldable Panels
-
Best For: Lightweight rigs, temporary setups, and curved surfaces
Pros: Ultra-portable, space-saving, easy to store or deploy
Cons: More fragile, less efficient, limited lifespan under harsh conditions
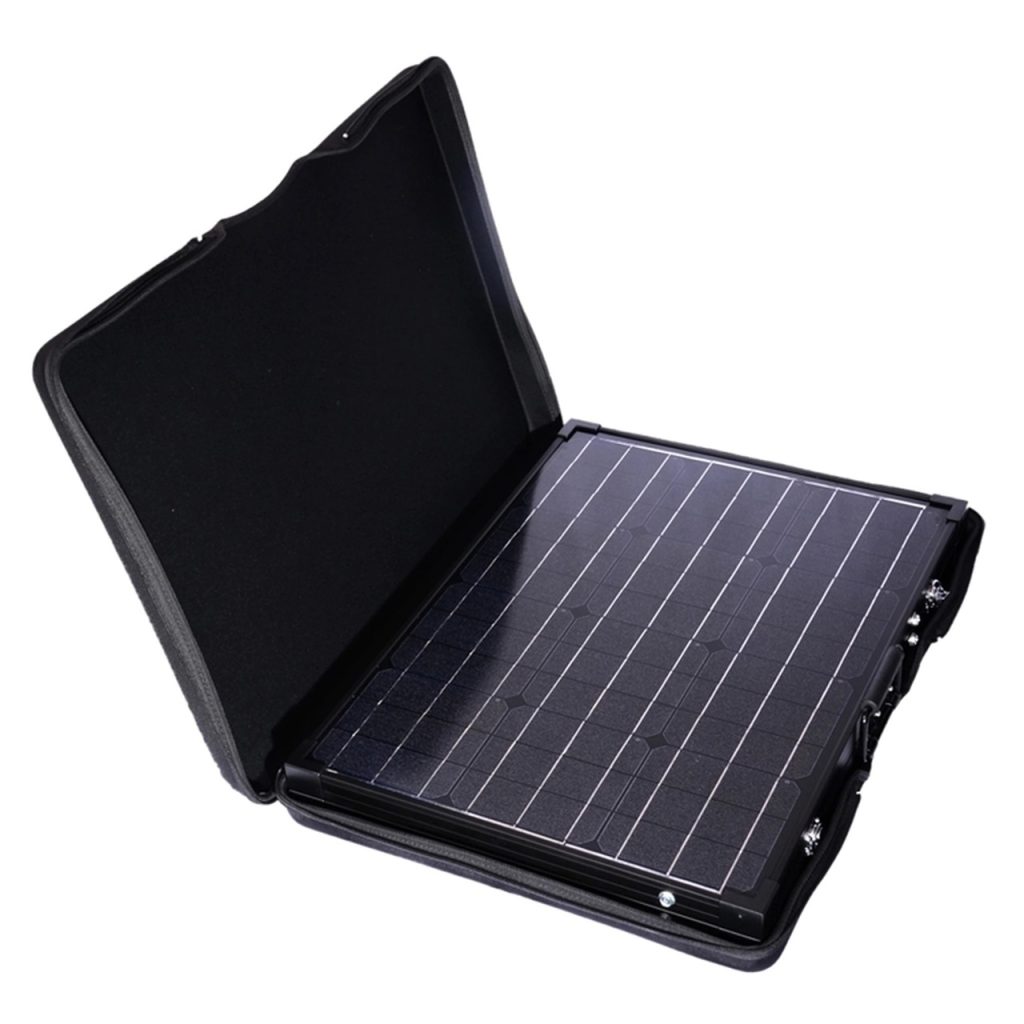
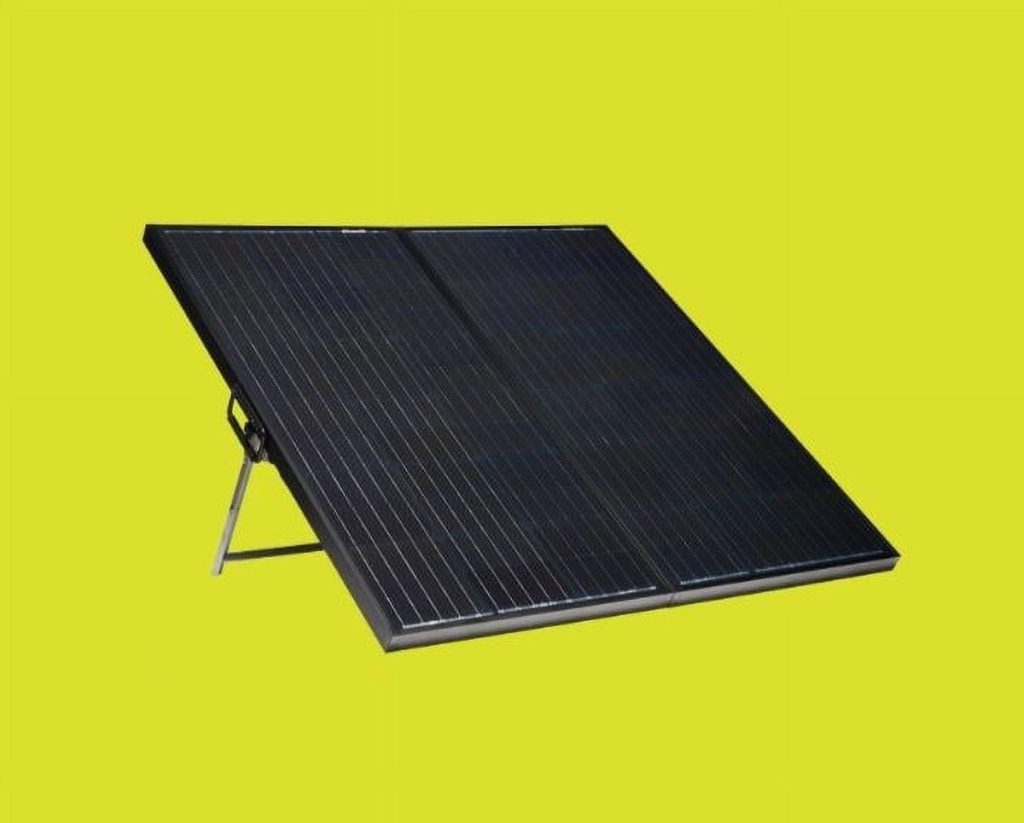
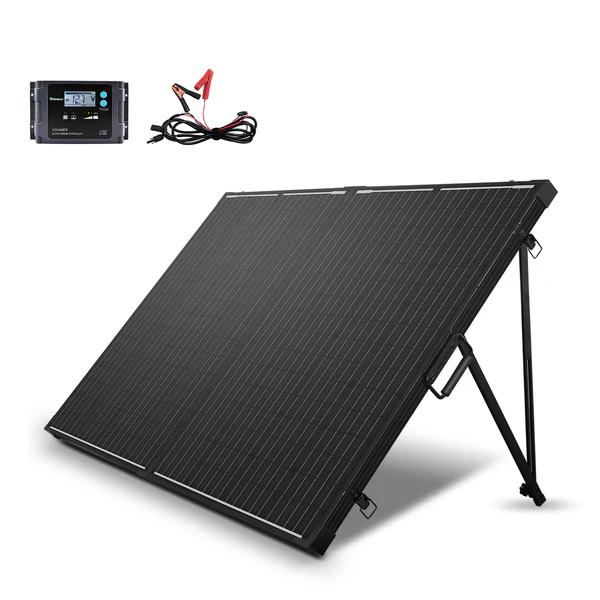
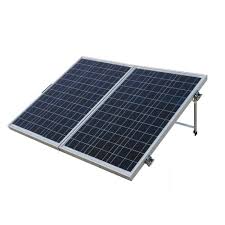
Portable Briefcase-Style Panels
-
Best For: Campsite charging, supplemental power
Pros: Self-contained, easy to aim at the sun, often includes kickstands and charge controllers
Cons: Bulky when folded, needs daily setup and takedown, vulnerable to theft if left unattended
Choosing the right panel type depends on your specific overlanding needs—whether you’re planning a long-term expedition or short weekend escapes. The ideal setup may even involve a mix of technologies to balance portability, durability, and power output.
Solar Systems for Overlanding
Overlanders have a wide range of energy needs—from charging phones and GPS devices to running fridges and power tools. Fortunately, modern solar setups come in various formats to meet different travel styles, space constraints, and energy demands. Below, we explore the main system types and guide you through choosing the right amount of solar power, plus gear recommendations trusted by the overlanding community.
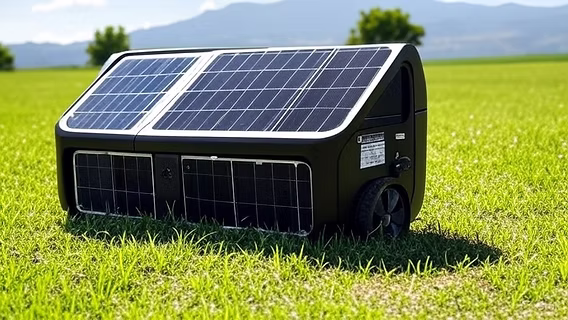
Portable Solar Generators
Portable solar generators are all-in-one solutions combining solar panels, a lithium battery, a charge controller, and an inverter—designed for simplicity and mobility. Brands like Jackery, Goal Zero, and Bluetti have popularized these systems among vanlifers and weekend adventurers.
These units are particularly useful for:
-
Travelers with minimal power needs (lighting, phones, laptops)
-
Campsites where portable placement is ideal for sun tracking
-
Users who want a plug-and-play option with minimal wiring
Pros:
-
Easy to set up with no technical expertise
-
Extremely portable
-
Quiet and eco-friendly
-
Some models allow expansion with additional solar panels
Cons:
-
Limited capacity for high-draw appliances like AC units or electric kettles
-
Can be costly per watt compared to built-in systems
Roof-Mounted Built-In Systems
For long-term or full-time overlanding, roof-mounted systems provide a permanent and robust solar power solution. These systems typically include high-efficiency monocrystalline panels, a powerful battery bank, an MPPT charge controller, and a pure sine wave inverter.
Ideal for:
-
RVs, overlanding trucks, or expedition vehicles with ample roof space
-
Running high-load devices: 12V refrigerators, lights, fans, laptops, drone batteries, and more
Pros:
-
Always charging while you drive or park in the sun
-
Secure and weatherproof
-
Low maintenance once installed
Cons:
-
Heavier, it adds to the overall vehicle load
-
Installation can be complex (drilling, wiring, sealing)
-
Panels are fixed—no manual re-positioning for better sunlight angles
Hybrid Systems
Hybrid systems combine the best of both worlds: roof-mounted panels for passive, all-day charging, and portable briefcase-style panels for supplemental or directional charging at camp.
This dual approach is ideal for:
-
Variable terrain and unpredictable weather
-
Parking in the shade while placing portable panels in the sun
-
Off-grid redundancy—keeping power flowing even if one component fails
Pros:
-
Increased flexibility and charging efficiency
-
Balanced weight and space usage
-
Reduces the chance of full energy depletion
Cons:
-
Requires slightly more setup and monitoring
-
Costlier than single-system approaches
How Much Solar Power Do You Need? ⚡
Estimating your solar power needs involves calculating the daily watt-hour consumption of all your essential devices and factoring in some headroom for surge loads or cloudy conditions.
Step 1: List Your Daily Devices
| Device | Power (W) | Hours/Day | Total Wh/Day |
|---|---|---|---|
| 12V Fridge | 45W | 10h | 450 Wh |
| LED Lights (4) | 5W | 4h | 20 Wh |
| Laptop | 60W | 2h | 120 Wh |
| Phone (x2) | 10W | 2h | 40 Wh |
| Camera Battery | 15W | 1h | 15 Wh |
| Total | — | — | 645 Wh |
Step 2: Account for Inverter & Charge Loss
Add ~20% to your total for system losses:
645 Wh × 1.2 = ~774 Wh/day
Panel Recommendations:
-
100–140W: Weekend trips, light use (lights, phones, USB fans)
-
200–300W: Refrigeration + laptop + lighting
-
300–400W+: Full-time overlanding, power-hungry gear, cloudy climates
Recommended Solar Panel Gear
Here are five highly rated and road-tested solar panel kits ideal for different overlanding setups:
1. Goal Zero Boulder 100
-
Type: Monocrystalline briefcase panel
-
Best For: Rugged portability; pairs well with Goal Zero power stations
-
Pros: Durable aluminum frame, integrated kickstand, weather-resistant
-
Cons: Heavy; best for car-based setups, not hiking
2. Renogy 100W Eclipse Mono
-
Type: High-efficiency monocrystalline panel
-
Best For: Lightweight rooftop setups or paired with a portable battery
-
Pros: Compact, efficient, sleek design; works well in low light
-
Cons: Requires a separate controller and battery
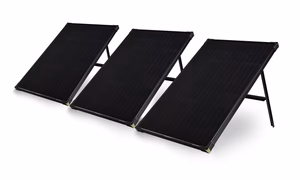
3. Zamp Solar 180W Legacy Kit
-
Type: Portable briefcase-style mono panel
-
Best For: Off-grid pros needing serious power with plug-and-play ease
-
Pros: Made in the USA, pre-wired charge controller, rugged case
-
Cons: Expensive, bulky when folded
4. Renogy 200W Starter Kit
-
Type: Roof-mounted system with PWM controller
-
Best For: Full-time rigs and permanent solar integration
-
Pros: Everything included—panels, brackets, wiring
-
Cons: PWM controller is basic; upgrading to MPPT is recommended
5. Eco-Worthy 120W Foldable
-
Type: Foldable portable panel with USB and DC outputs
-
Best For: Charging phones, cameras, and laptops on the go
-
Pros: Lightweight, budget-friendly, includes multiple connectors
-
Cons: Not ideal for heavy power loads
With the right solar system tailored to your needs and travel style, overlanding becomes more independent, efficient, and eco-conscious. Whether you choose a fixed rooftop install, a compact portable unit, or a hybrid mix, solar energy ensures you’re always ready for the next trail ahead.
Setup & Optimization Tips
A great solar system is only as effective as its setup and maintenance. To get the most out of your solar investment on the trail, attention to positioning, safety, cleanliness, and power usage is essential. These tips will help ensure maximum efficiency and long-term reliability.
Positioning
Proper solar panel placement can significantly impact how much power your system generates, especially when you’re off-grid for days or weeks.
-
Maximize Sun Exposure: Aim to orient panels toward the sun’s direct rays. In the northern hemisphere, that typically means facing panels southward.
-
Use Optimal Angles: For fixed rooftop panels, a slightly angled mount can improve efficiency. Portable panels allow for manual adjustment—tilt them 30–45° depending on the time of year and location.
-
Avoid Shading: Even partial shade from tree branches or roof racks can reduce solar output drastically. Check for shadows throughout the day and reposition as needed.
-
Track the Sun: If using portable panels, move them a few times a day to follow the sun’s path. Small changes in angle can boost efficiency noticeably.
Connect & Store Safely
Solar systems can only perform reliably when all components are securely connected and protected.
-
Use High-Quality Connectors: Stick to weatherproof, properly rated MC4 or Anderson connectors for safe and durable cable connections.
-
Secure the Wiring: Use zip ties, conduit, or wire looms to prevent cables from flapping or fraying, especially on rough terrain.
-
Protect the Battery Bank: Store batteries in ventilated, weatherproof enclosures and secure them from movement. Overlanders often mount them in under-seat compartments or storage drawers.
-
Run System Checks: Periodically inspect connections, fuse boxes, and charge controller readings to catch issues early. If your inverter has an app or LCD screen, monitor input/output values regularly.
Maintenance
Routine maintenance ensures your solar setup runs smoothly and extends its lifespan, even in rugged environments.
According to Gearlanders.com, these habits make all the difference:
-
Clean Your Panels: Dust, bird droppings, and debris can reduce efficiency. Wipe panels with a soft cloth and mild soapy water every few days, especially after dusty trails.
-
Check Cables & Connectors: Vibration and weather can loosen or degrade wiring over time. Inspect all visible connections weekly.
-
Battery Health: For lead-acid setups, check fluid levels if required. For lithium batteries, monitor voltage levels and ensure they aren’t regularly running below 20% charge.
-
Software Updates: Some MPPT controllers and smart inverters allow firmware updates—keep them current for optimal performance.
Energy Use Best Practices
Your energy usage habits can drastically improve the lifespan and efficiency of your solar system.
-
Charge During Peak Sunlight: Midday sun (10 AM–3 PM) delivers the strongest solar input. Prioritize charging laptops, fridges, and battery banks during this window.
-
Monitor Power Consumption: Use built-in monitoring features or Bluetooth apps (e.g., VictronConnect) to track energy draw and adjust usage accordingly.
-
Cycle Loads Strategically: Don’t run all devices at once. Stagger your energy usage to avoid overloading the system and to maintain battery health.
-
Add Backup Charging Options: Consider integrating an alternator charger (DC-to-DC) or even a compact generator as a secondary energy source for emergencies or cloudy days.
Dialing in these setup and usage tips helps you stay powered up no matter where the trail leads, ensuring your overlanding journey is both sustainable and stress-free.
Real-World Use & Tips
Real experiences from the trail often reveal what product specs can’t. Overlanders across communities like Gearlanders have shared invaluable insights on getting the most out of solar systems in rugged, real-life conditions.
“After installing a 200W rooftop setup and supplementing with a 100W portable briefcase panel, we went 18 days off-grid in the Mojave without needing shore power or a generator. The key? Solar panel placement and watching our inverter draw.”
— Gearlanders Contributor, Field Report 2023
Practical Lessons from Seasoned Overlanders:
-
Panel Positioning Hacks: One popular tip is to mount rooftop panels using adjustable tilt brackets. This allows panels to be angled toward the sun in winter months, increasing efficiency by up to 25%. For portable panels, using a compass or solar app helps track optimal angles throughout the day.
-
Durability Upgrades: Overlanders recommend reinforcing panel frames with foam padding or vibration-resistant mounts to prevent cracks over long washboard trails. For cable protection, wrapping wiring in split loom tubing guards against abrasion from branches and rocks.
-
Shading Awareness: Multiple users report unexpected efficiency drops due to partial shading from awnings or roof racks. Carrying a solar panel blanket as backup or repositioning during high-demand charging windows solves this issue on the fly.
-
Portable Generator Pairing: Some overlanders integrate small solar-compatible generators like the Jackery Explorer or EcoFlow River 2 Pro as fail-safe backups. These units can charge from solar and provide power when sunlight is limited, ensuring devices like fridges don’t shut down overnight.
These real-world insights highlight the value of flexibility, smart placement, and ongoing system checks in ensuring energy independence on the trail.
Future of Overlanding Solar
The solar tech landscape is evolving rapidly, bringing smarter, more efficient, and more compact solutions to overlanding enthusiasts.
Key Innovations on the Horizon:
-
Ultra-Thin Flexible Panels: New-generation panels, including CIGS (Copper Indium Gallium Selenide), are ultra-lightweight, flexible, and designed for irregular surfaces. These panels can be adhered directly to tents, hoods, or trailer roofs, offering maximum portability with minimal weight.
-
Higher-Efficiency Solar Cells: Manufacturers are pushing past 23% efficiency rates in commercial monocrystalline panels using PERC (Passivated Emitter Rear Cell) and IBC (Interdigitated Back Contact) technology. This means more power from the same footprint—ideal for space-limited rigs.
-
Integrated Smart Battery Banks: Companies like Bluetti, EcoFlow, and Zendure are developing modular battery ecosystems that integrate solar charging, inverter output, and even Wi-Fi or app-based energy management. These “power stations” allow real-time monitoring, expandable capacity, and seamless compatibility with solar gear.
-
Solar Fabric & Vehicle Integration: Future possibilities include solar fabric awnings and solar skins that integrate directly into vehicle exteriors. These innovations will make energy harvesting more passive and efficient, without taking up roof space.
As these advancements continue, the barrier to full off-grid travel will only get lower, allowing adventurers to travel farther, stay longer, and tread lighter.
Conclusion
Solar power has become a game-changer for the overlanding community, offering a clean, silent, and renewable way to stay powered off-grid. Whether you’re running a fridge in the backcountry or charging devices on a desert trail, solar ensures that energy independence doesn’t come at the cost of nature or peace of mind.
To make the most of your setup, thoughtful planning is key. Understand your energy consumption, choose the right panel type and system size, and invest in quality components. A well-optimized solar setup not only improves your comfort and safety, it expands the boundaries of where and how long you can travel.
So, before you hit the trail, make the sun your ally.